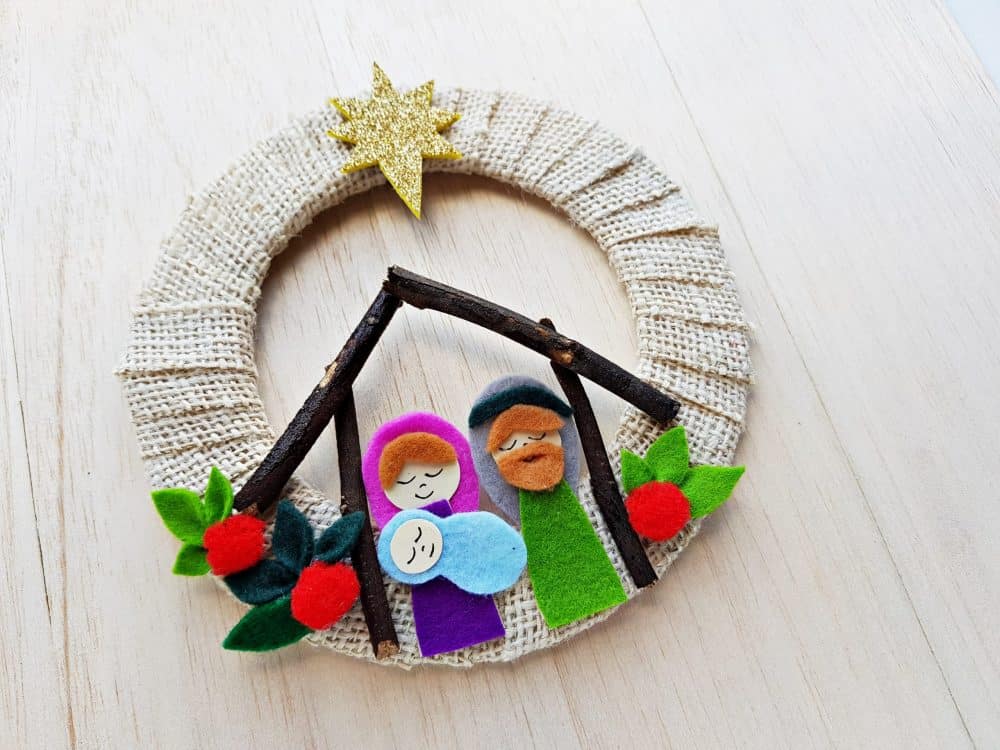
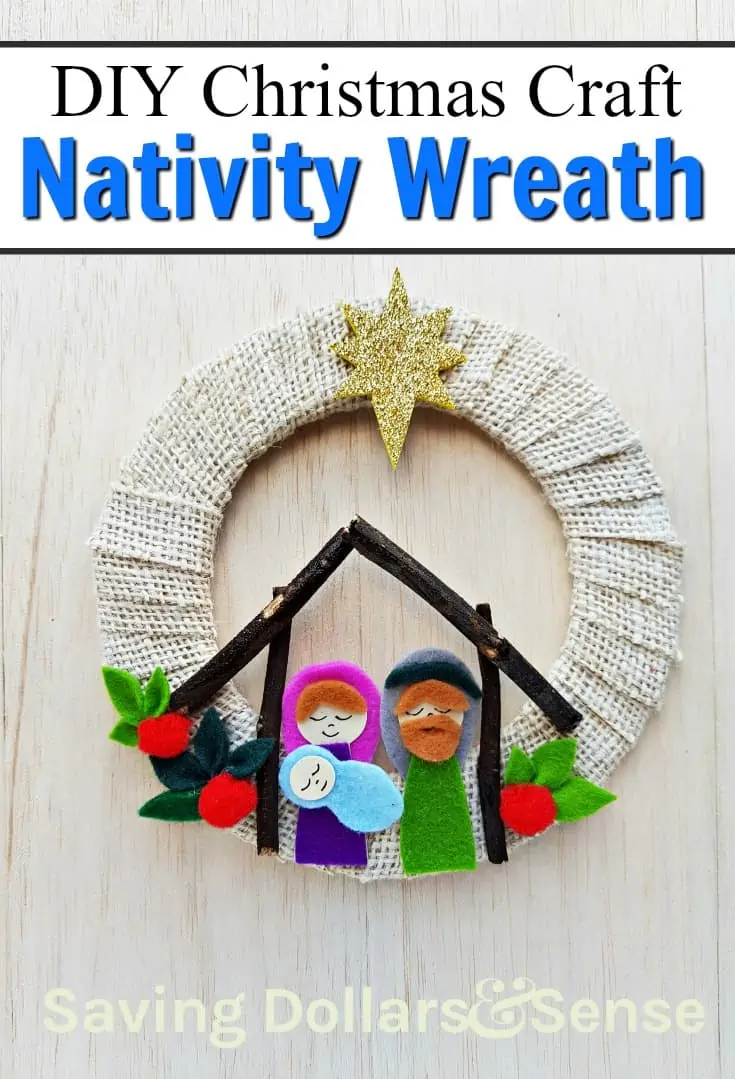
I am in love with this Nativity Scene Wreath that I am sharing with you today.
This Christmas Wreath Craft is really easy to make and looks amazing when it is finished. When my kids were younger we loved creating special Christmas DIY projects together like the Names of Jesus Advent Chain.
Now that they are older, I still have those Christmas crafts in my decorations and it is really sweet when I get to pull them out to decorate. It brings back so many memories of when I was raising my family.
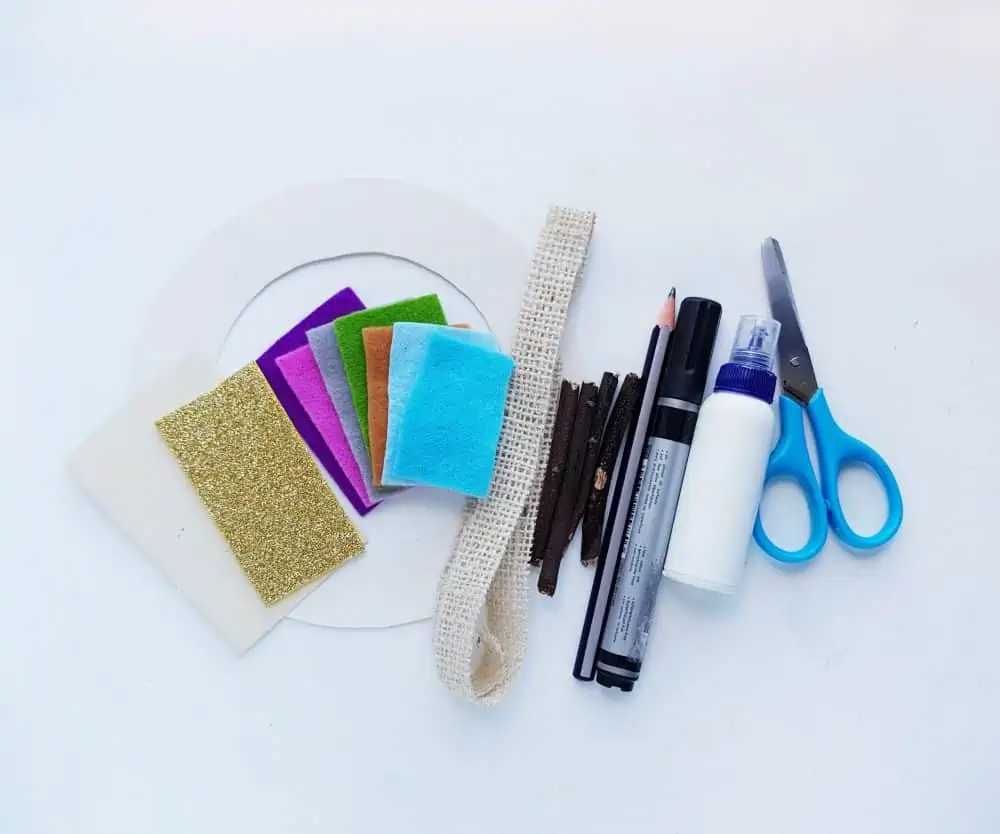
The thing I love most about this DIY Nativity is that most of us already have these supplies on hand, except for maybe the glitter paper.
If there is something you do not have, I suggest just using something you do have. Although the glitter paper does add an extra special touch, you could just use yellow paper. And the felt fabric could be replaced with paper or any other fabric.
You will need to print out the Nativity Wreath Template here.
Nativity Wreath Supplies:
- Cardstock wreath base (instructions below)
- Burlap fabric
- Cardstock paper
- Glitter paper
- Dry twigs
- Felt fabric
- Pencil
- Scissors
- Craft glue
- Sharpie
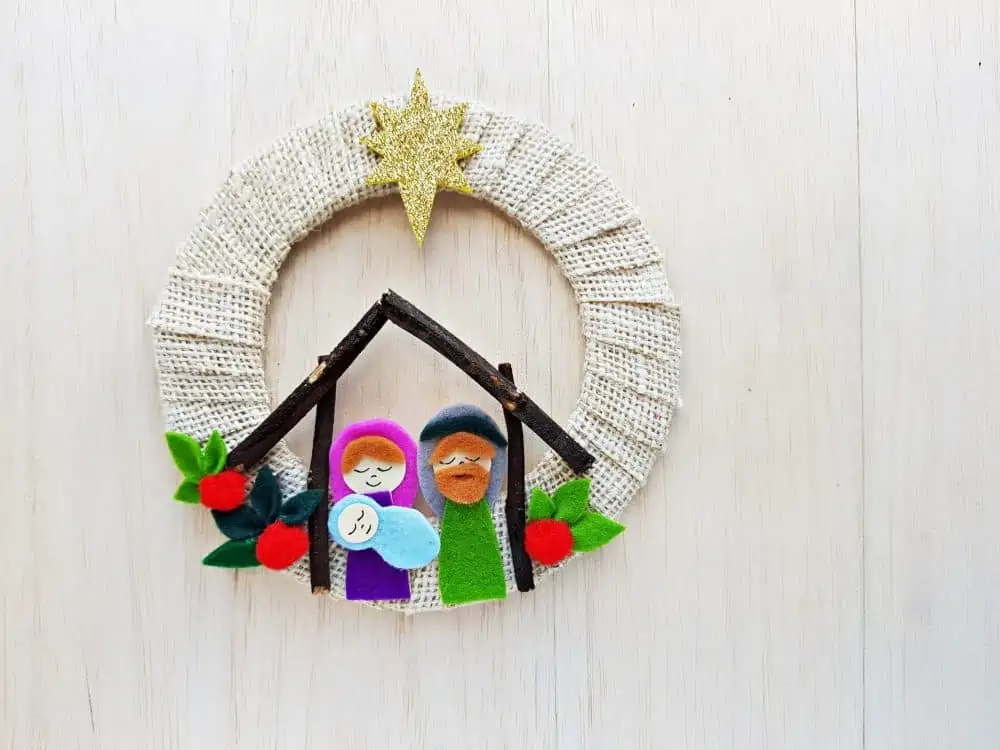
How to Make a Nativity Wreath
Follow the simple steps below to create you very own nativity scene decorations today.
If you make this project, I would absolutely LOVE to see it!
You can share a photo of it here in the comments or over in our SD&S Community for everyone to see,
Step 1
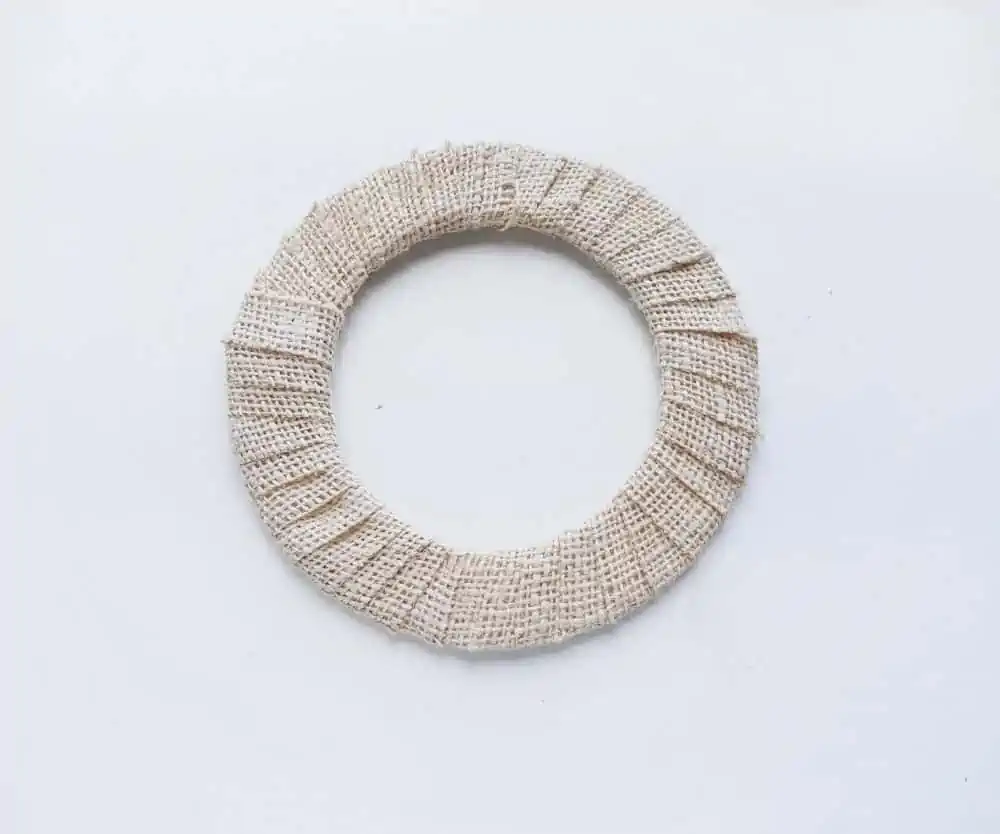
Determine the size of the wreath and cut out a round wreath base from a cardstock paper.
Prepare a long strip (or strips) of burlap fabric and wrap the wreath base to cover it.
Apply glue at the beginning and end of the burlap wrapping to secure it.
Step 2
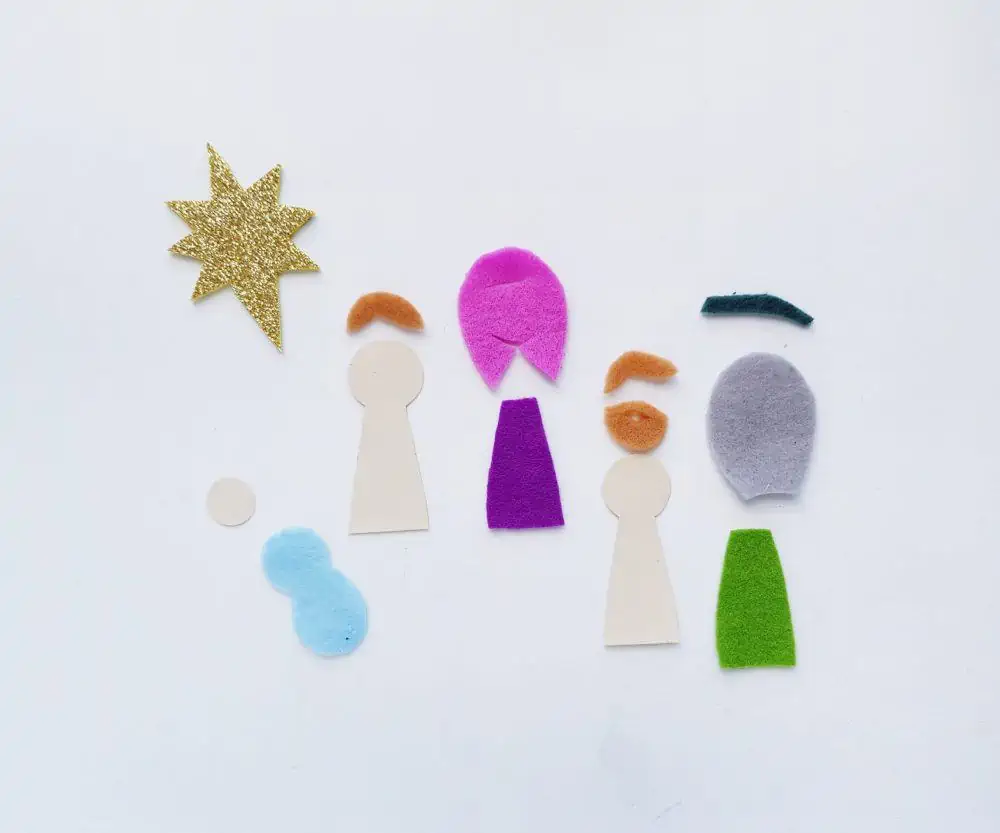
Prepare the template patterns by printing and cutting them out. Get your pattern here.
Trace the body parts of the characters on cardstock paper (you can also use felt if you want to) and trace the other patterns on felt fabric.
Cut out the traced patterns.
Trace and cut the star pattern from glitter paper.
Step 3
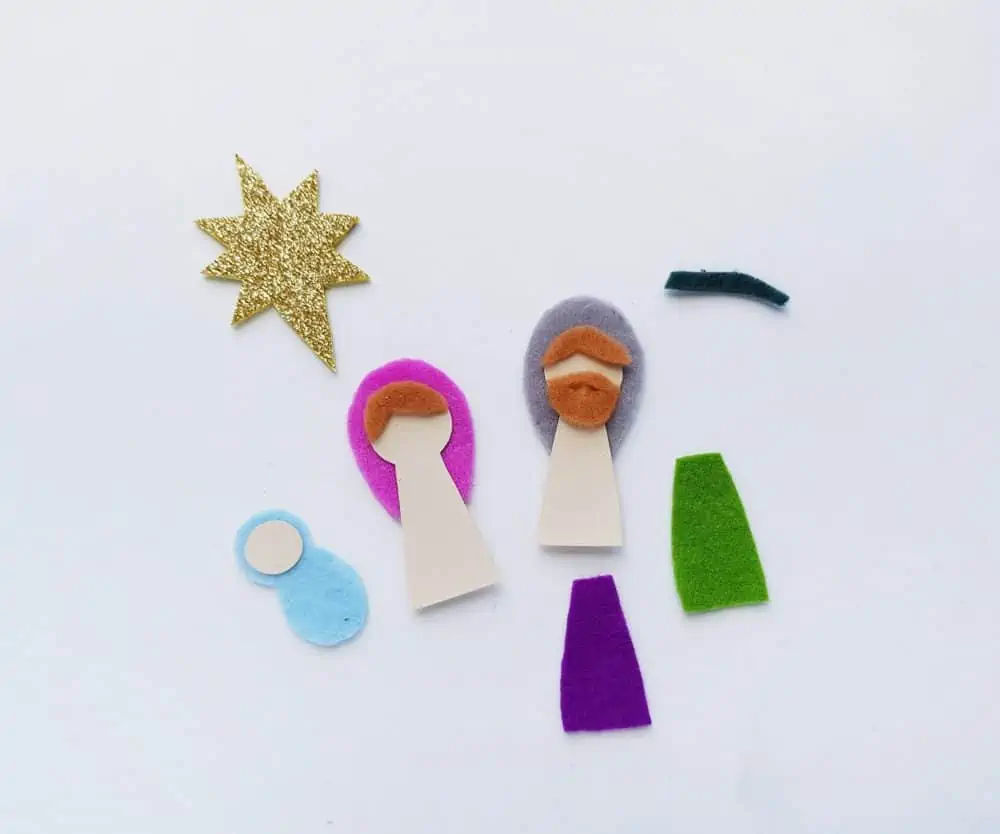
Simply attach the individual parts of each character to complete them.
Attach hair, dress and other patterns on their places.
Step 4
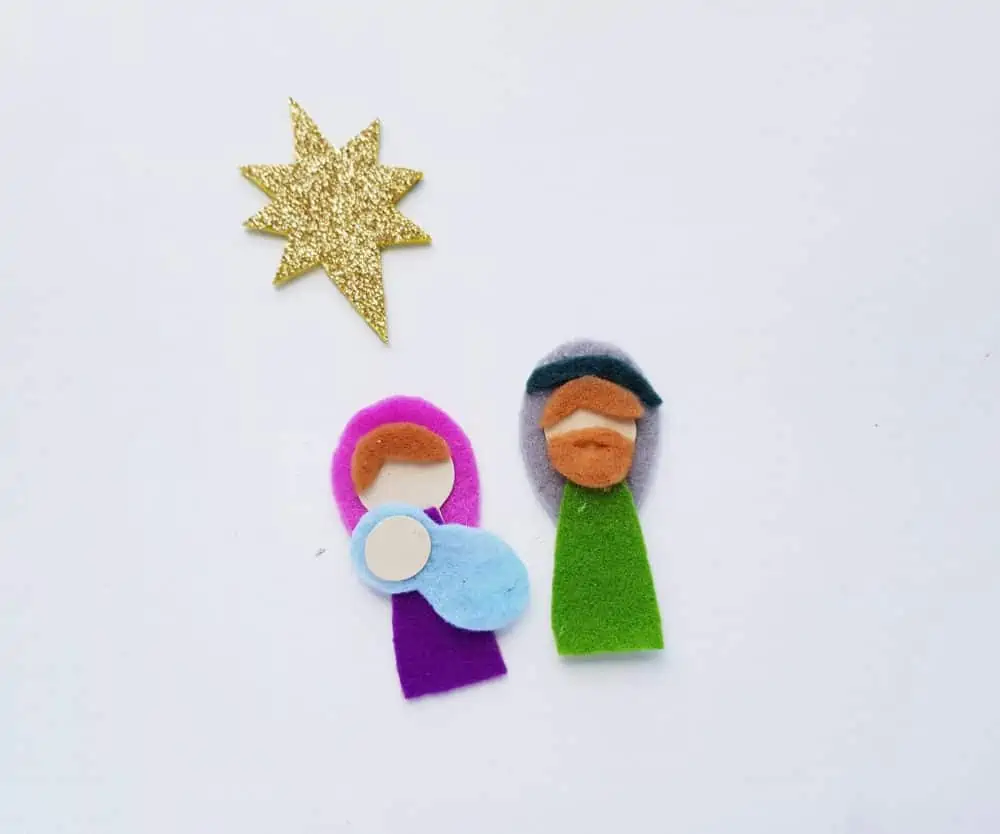
Place and attach baby Jesus on the lap of Mary.
You can use black sharpie or gel pen to trace the face of the characters.
Step 5
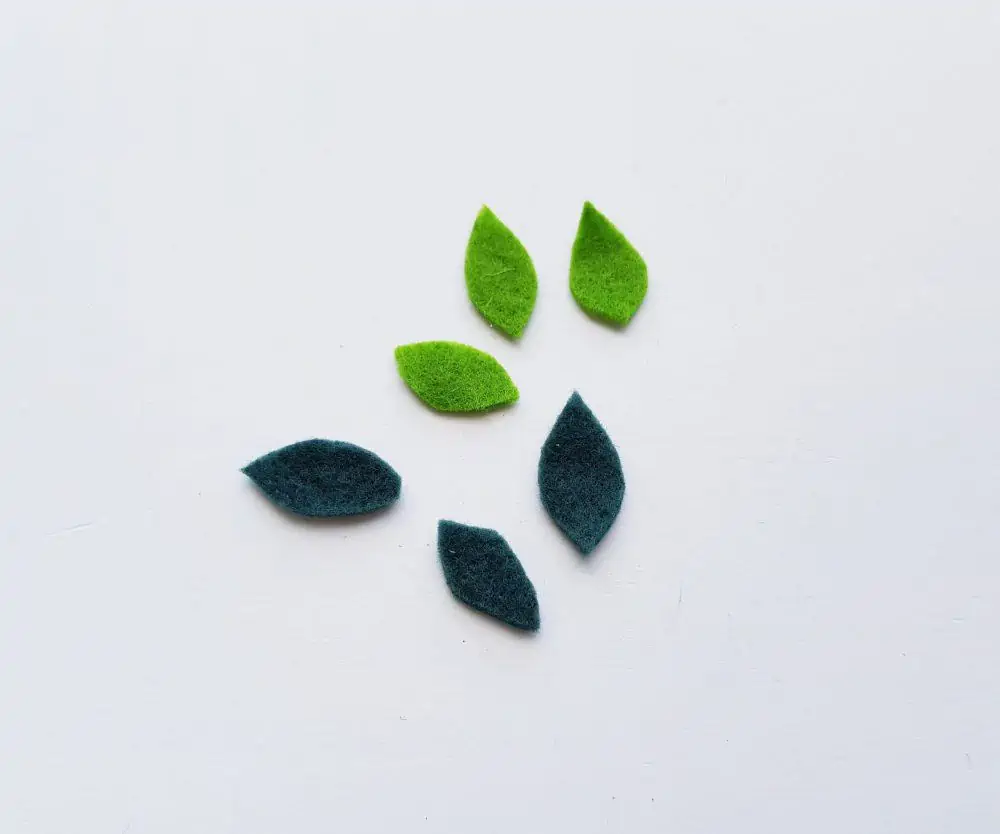
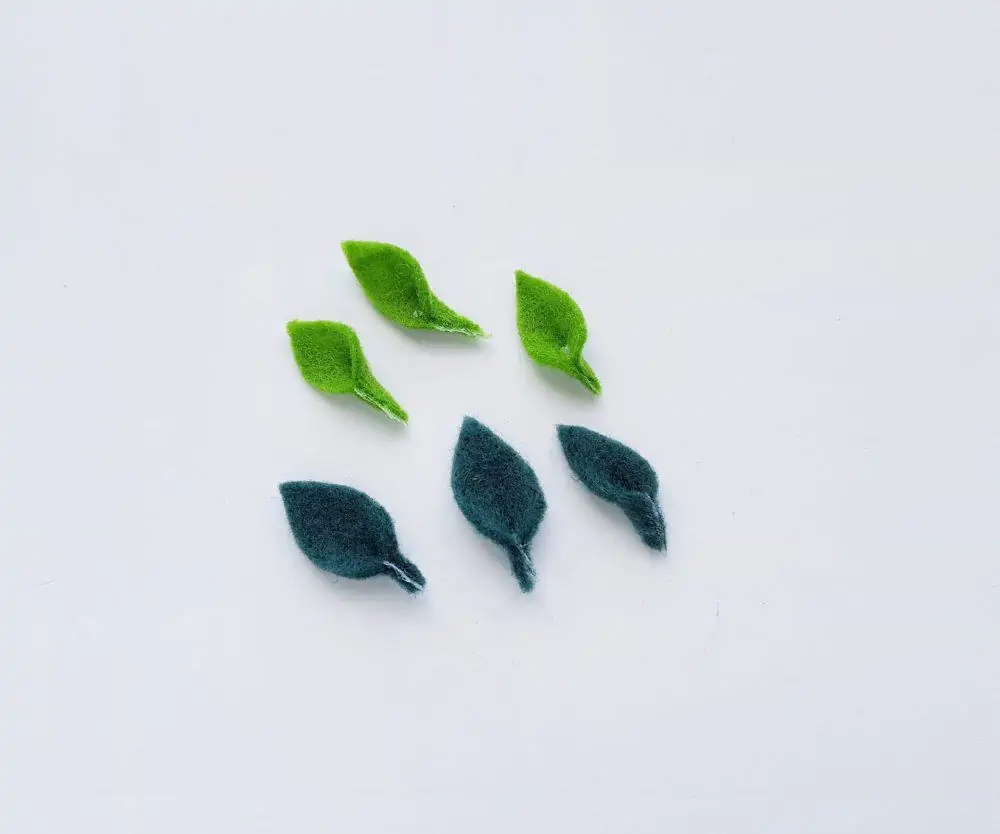
Cut out some leaf shapes from green colored felt fabric.
Step 6
Make a thin fold halfway through the middle line of the felt leaves and glue the fold. This will give the felt leaf a 3d look.
Step 7
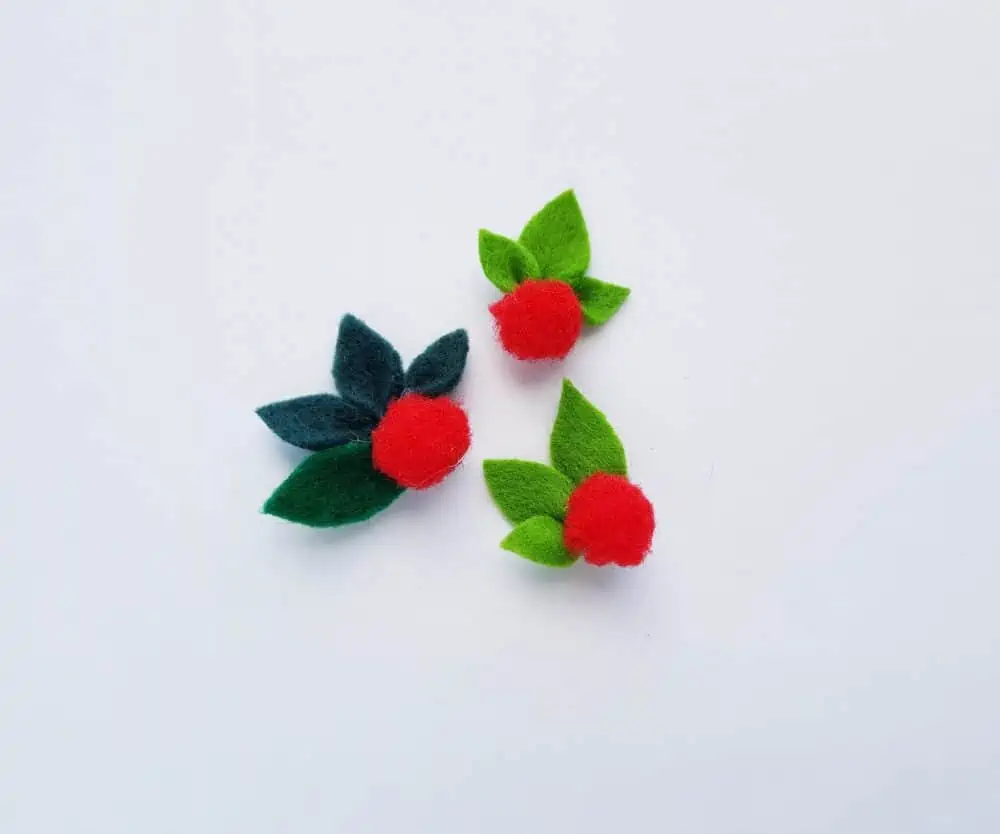
Attach 2 or 3 leaves together and glue a pompom with the leaves.
Step 8
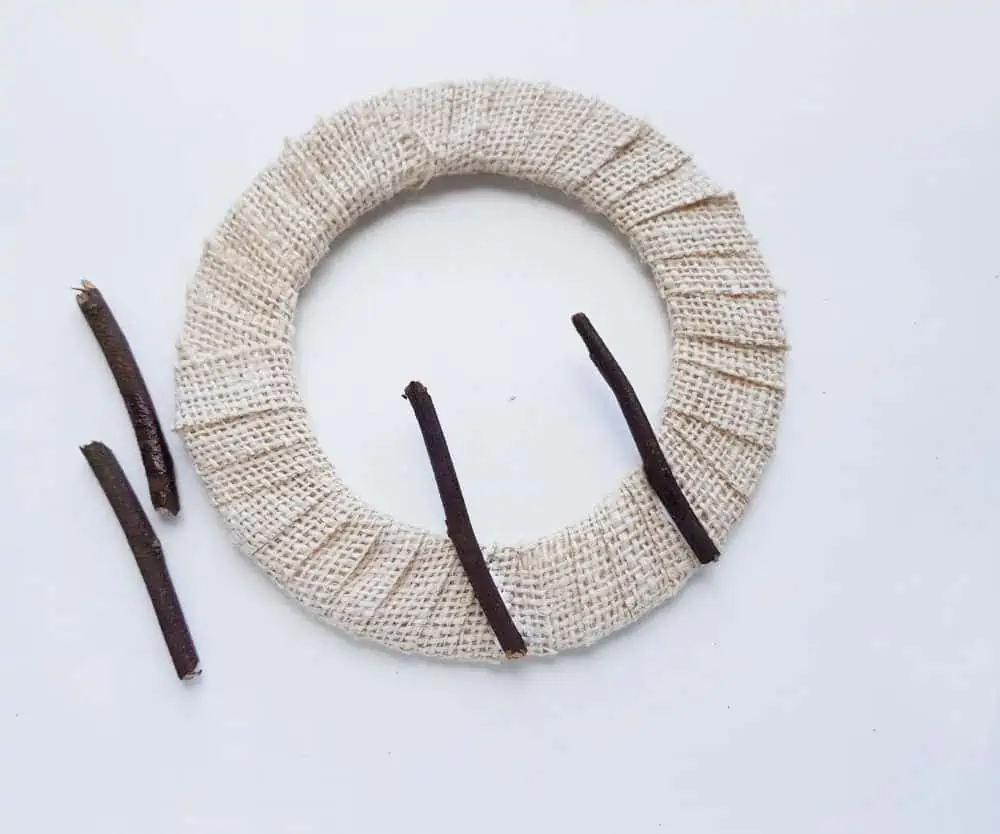
Now grab the wreath and some dry twigs.
Attach 2 dry twigs parallel wise on any one side of the wreath.
Keep a good gap between the twigs so we can place Mary and Joseph between the parallel twigs.
Step 9
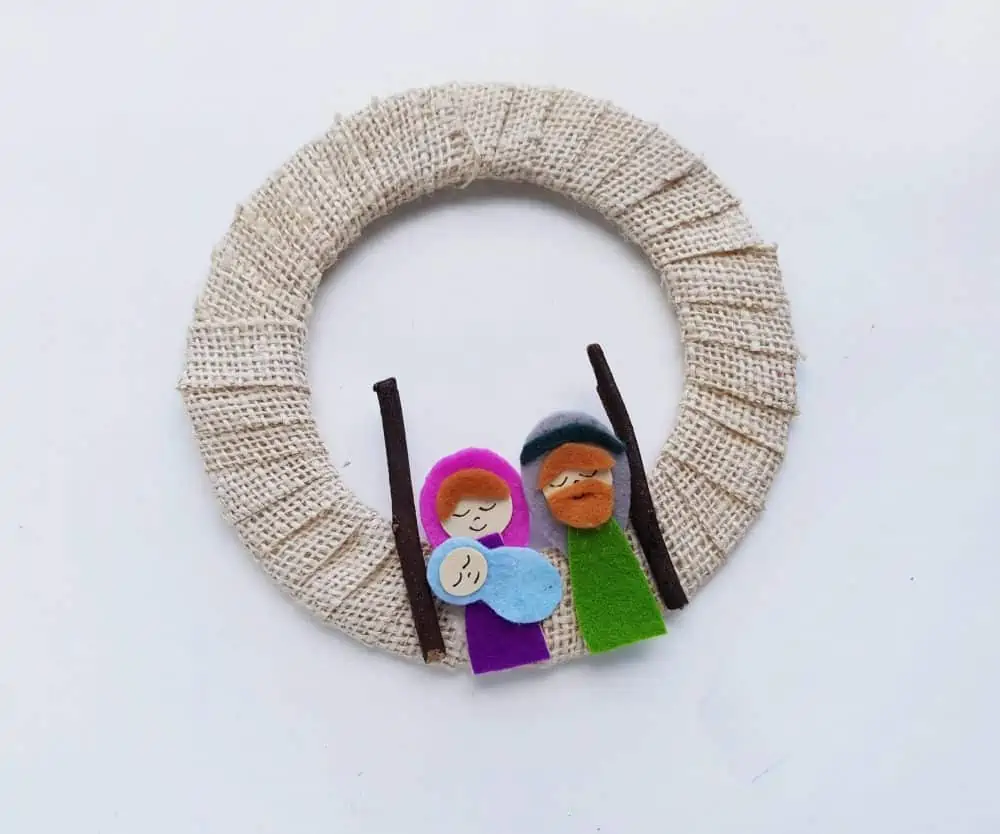
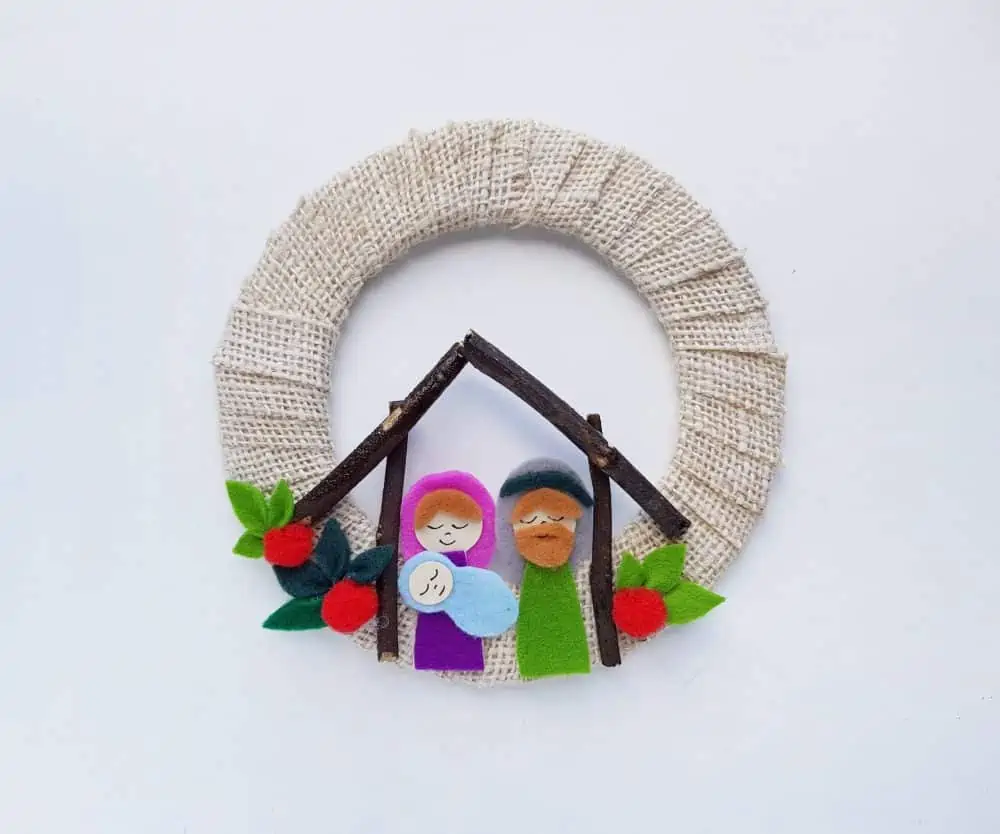
Place and attach Mary and Joseph felt craft between the twigs, on the wreath.
Step 10
Now take 2 more twigs and attach them on the top side of the parallel twigs by forming a triangle pattern on the top.
This will be the bottom side of the wreath.
Step 11
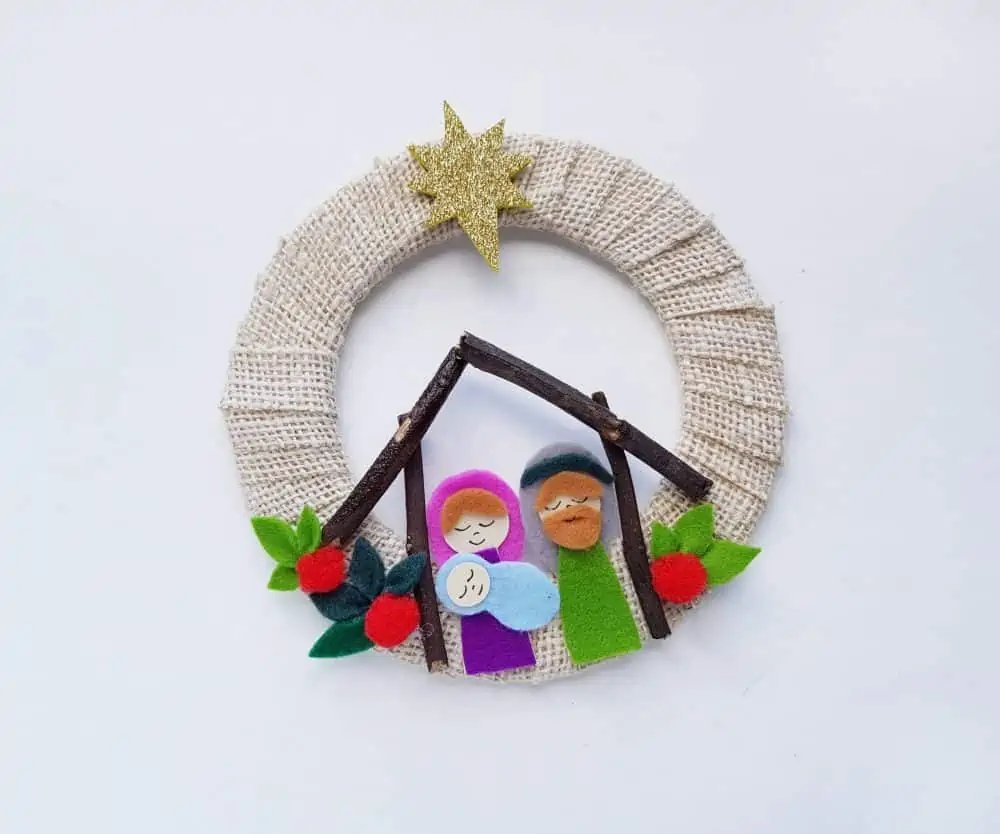
Attach the glitter star on the top side of the wreath.
Attach a hanging mechanism, I suggest string, and the craft is complete.
I really love how this tells the Christmas Story in such a simple way.
It can be reused for years to come, making it a nice keepsake too!


Leave a Reply