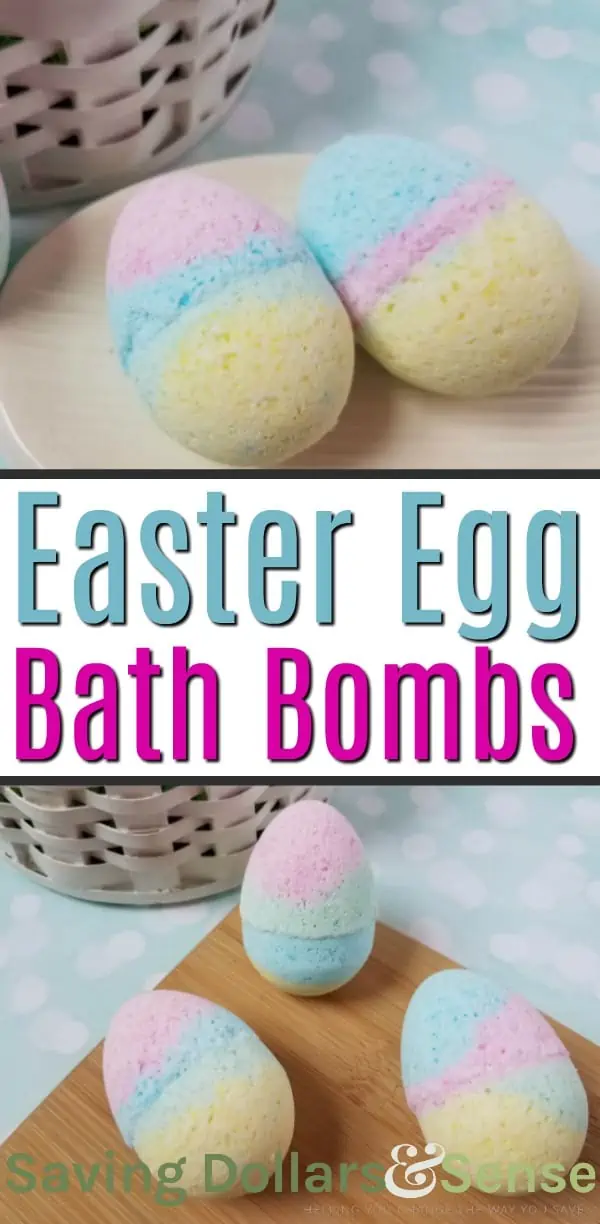
These Colorful Rainbow Bath Bombs are so easy to make yourself.
I just love being able to save money and make my own health and beauty products like these.
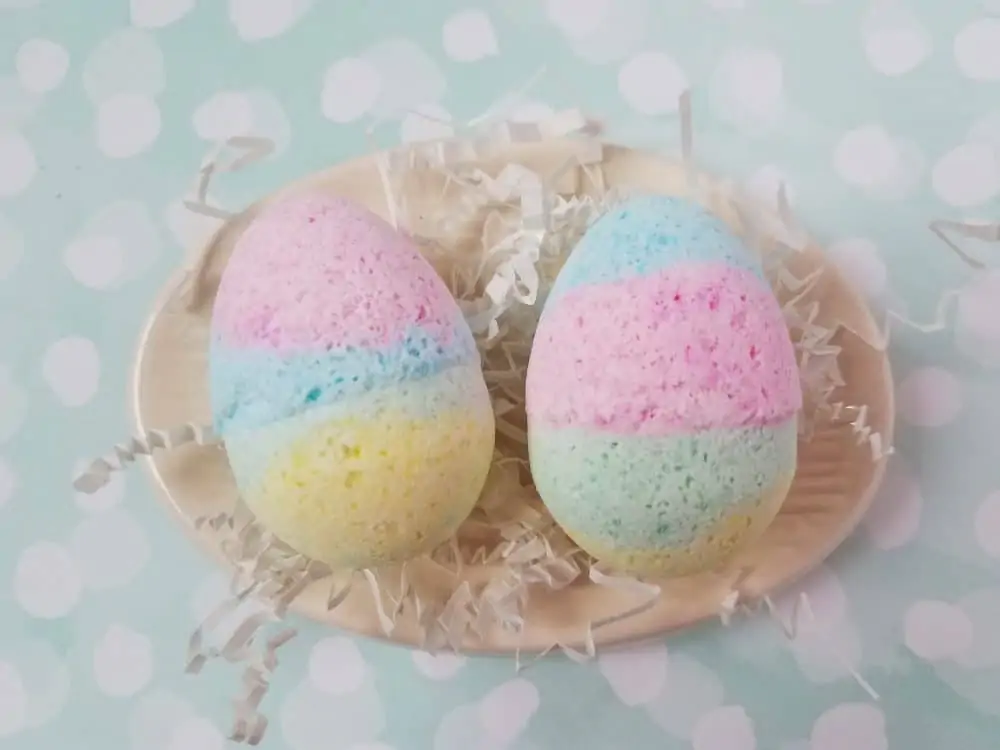
They’re especially great for the upcoming Easter holiday, since you use a plastic egg for the mold.
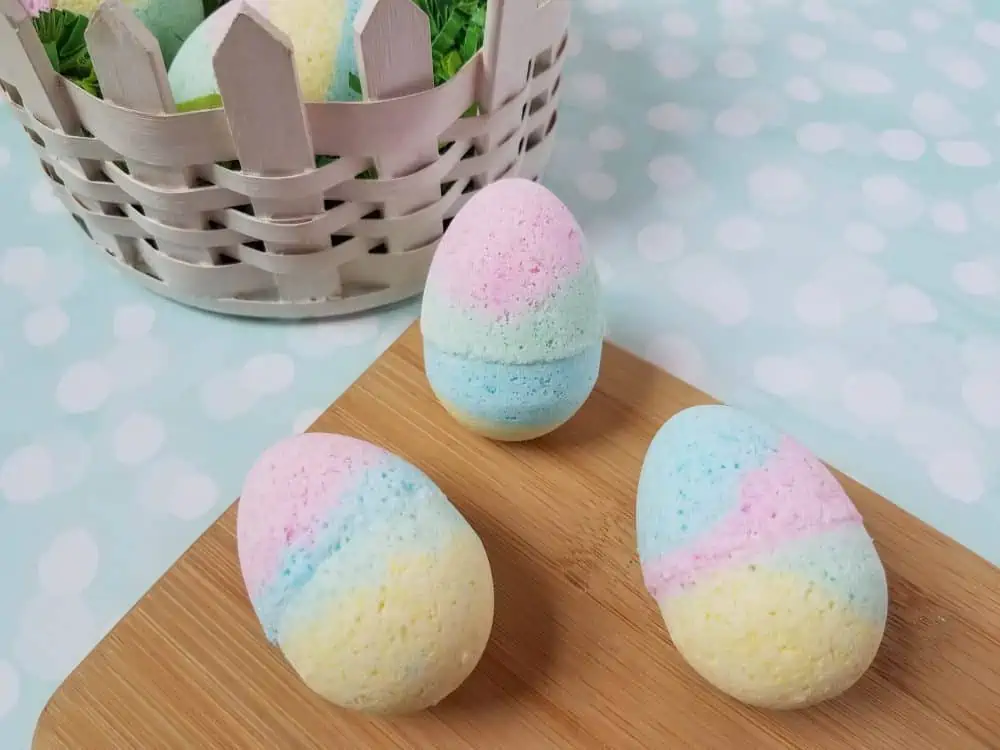
They’ll make a fun addition to any Easter basket.
Make Your Own Bath Bombs
Don’t let these colorful bath bombs fool you.
They may look challenging to make, but they really are so easy to do when you follow the bath bomb recipe and tips below.
Before you get started, you’ll want to gather all of your bath bomb making supplies.
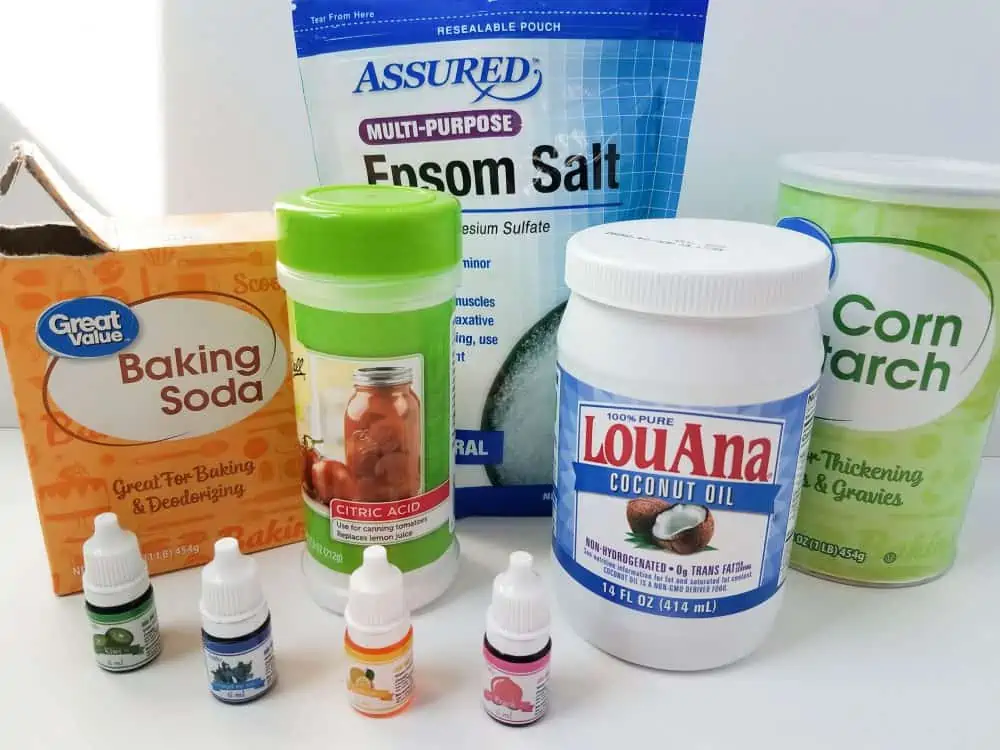
Rainbow Bath Bomb Ingredients
- 4 oz Epsom salt
- 8 oz baking soda
- 4 oz corn starch
- 4 oz citric acid
- 2 tbsp coconut oil (liquified)
- 1 tbsp water
Colorants for Bath Bombs
- 2 drops Kiwi Soap Colorant
- 2 drops Forget Me Not Soap Colorant
- 2 drops Lemon Soap Colorant
- 2 drops Peach Soap Colorant
- Optional Essential Oils of choice
When using essential oils in your bath bombs, choose soothing scents like Chamomile, Lavender, Stress Away, Frankincense, Jasmine, Sandalwood and Geranium.
Bath Bomb Supplies
- Large bowl
- 4 small bowls
- Whisk
- 12-16 small plastic Easter eggs
- Small jar with lid (or 4 so you don’t have to keep washing it between colors)
How to Make Colorful Easter Egg Bath Bombs
You’ll need to make up the base of the recipe first and then separate it into four bowls, in order to make the four different colors.
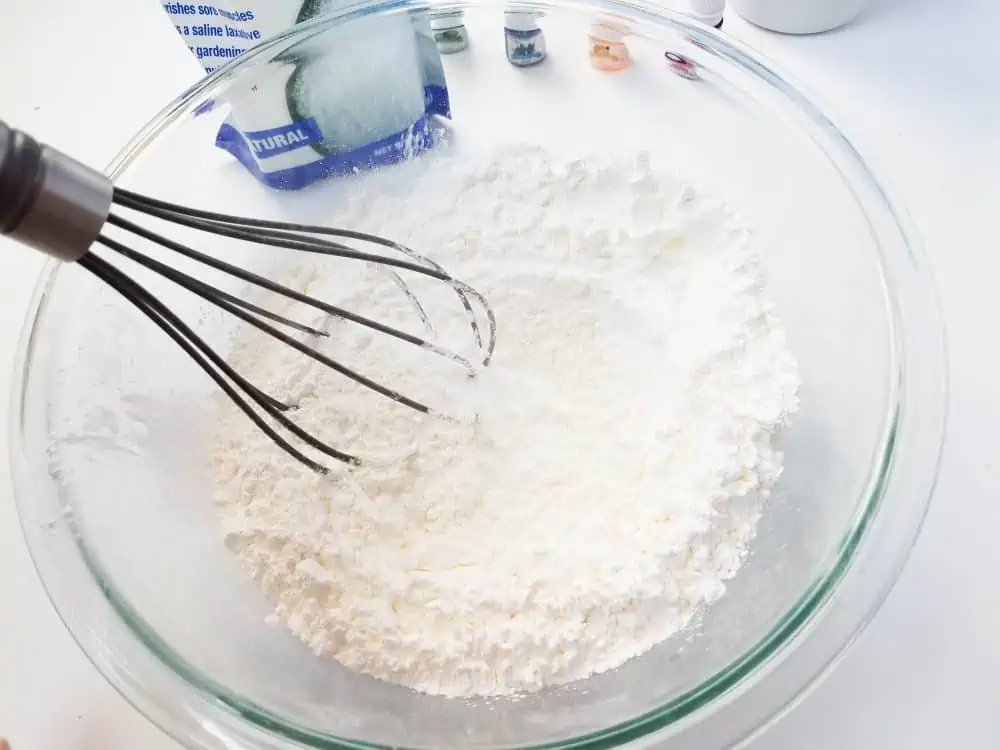
Step 1: Mix the dry ingredients first (Epsom salt, baking soda, cornstarch and citric acid), using the whisk.
Step 2: Mix well to ensure there are no clumps and distribute evenly into 4 small bowls.
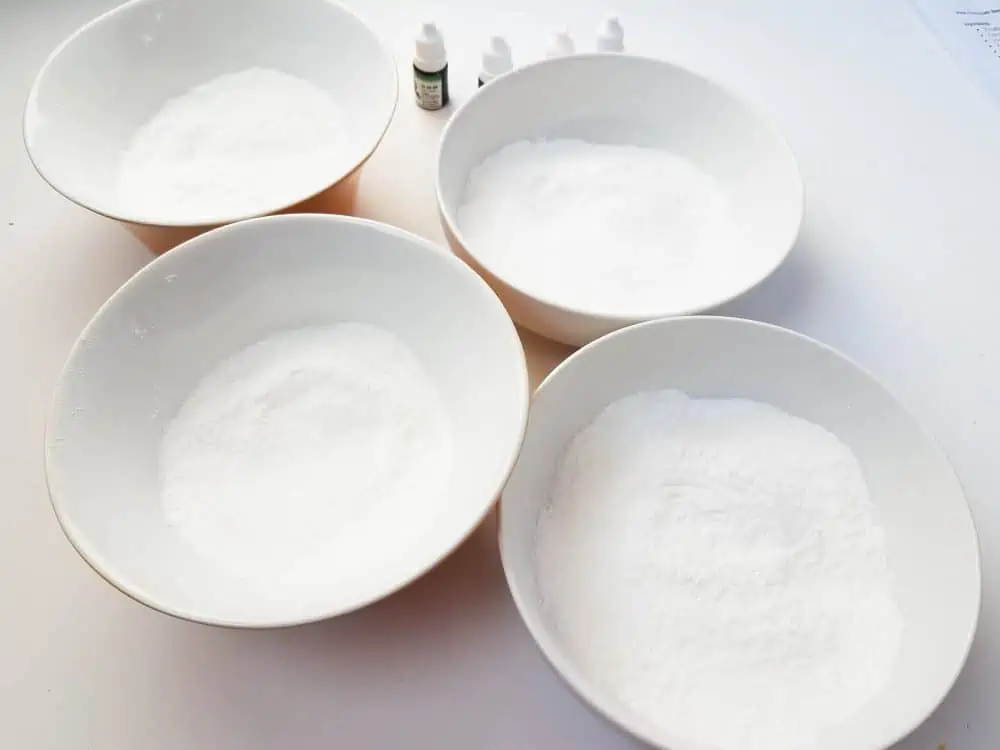
Expert Tip: If your coconut oil is not in liquid form, melt in microwave for about 30 seconds.
Step 3: Mix the wet ingredients in a jar, one color at a time.
The measurements would be 1 ½ teaspoons coconut oil and ¾ teaspoon water, plus 2 drops of soap colorant. Secure with lid, shake well.
Step 4: Very slowly add each color of liquid mixture to each bowl of dry mixture, about a few drops at time, while whisking the entire time.
NOTE: If you’re not pouring slowly enough, the mixture will start to fizz and you don’t want that to happen. If that does happen, you’ll need to start over again with all new ingredients.
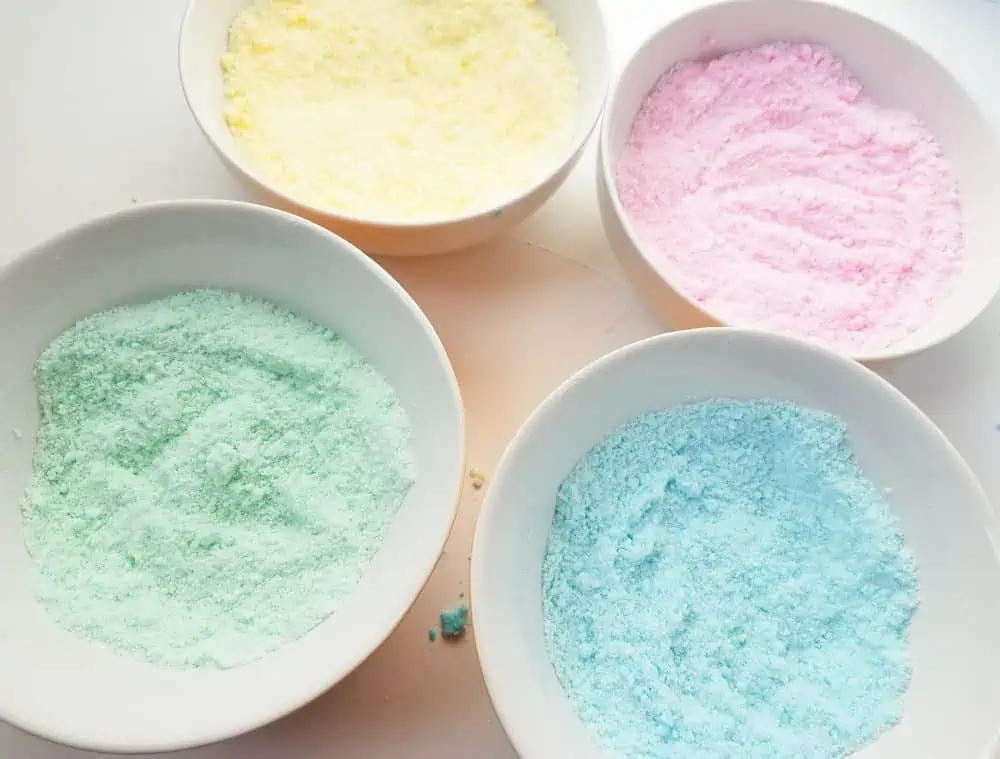
Step 5: Once all of the liquid has been poured into the dry mixture, mix very well until the color is consistent.
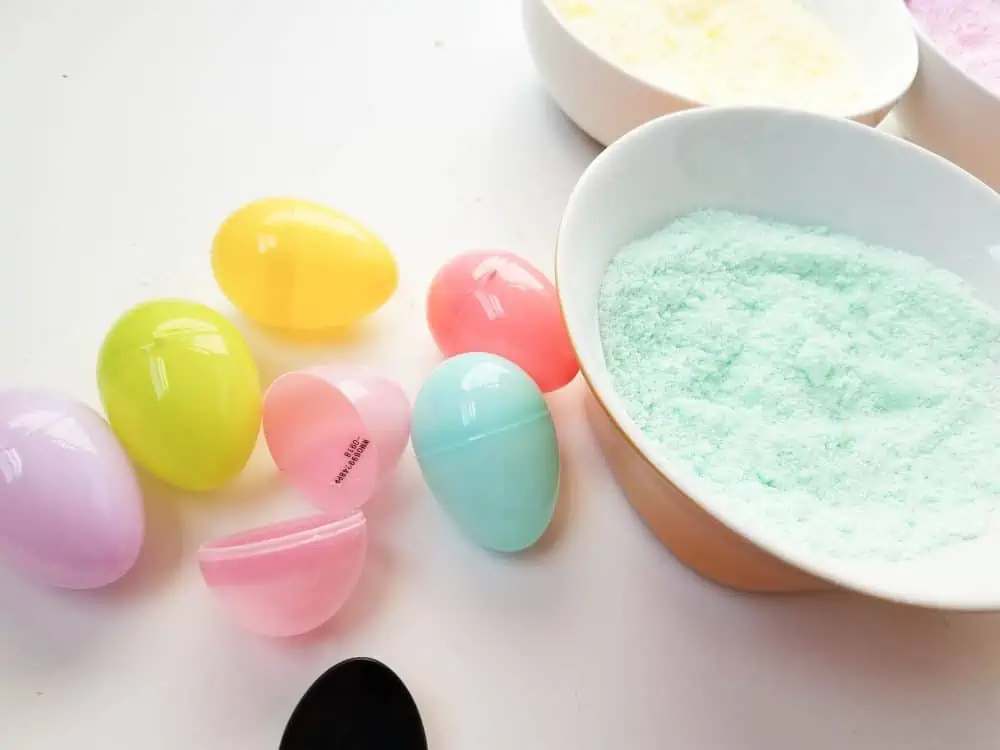
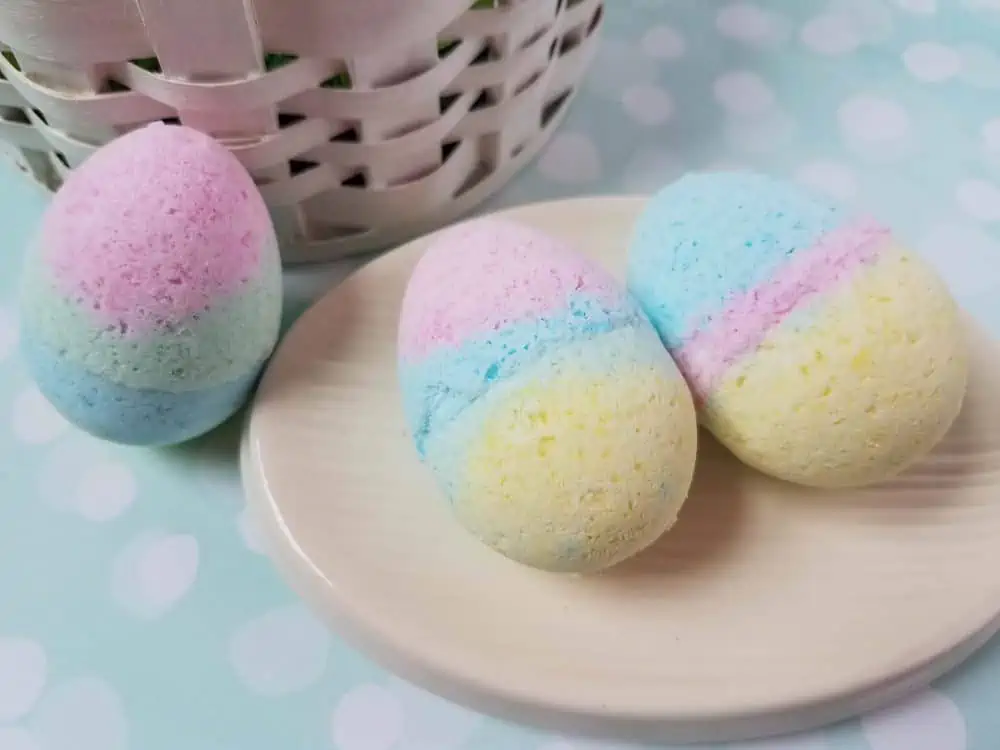
Step 6: Fill the molds with the mixture as shown in the photos below.
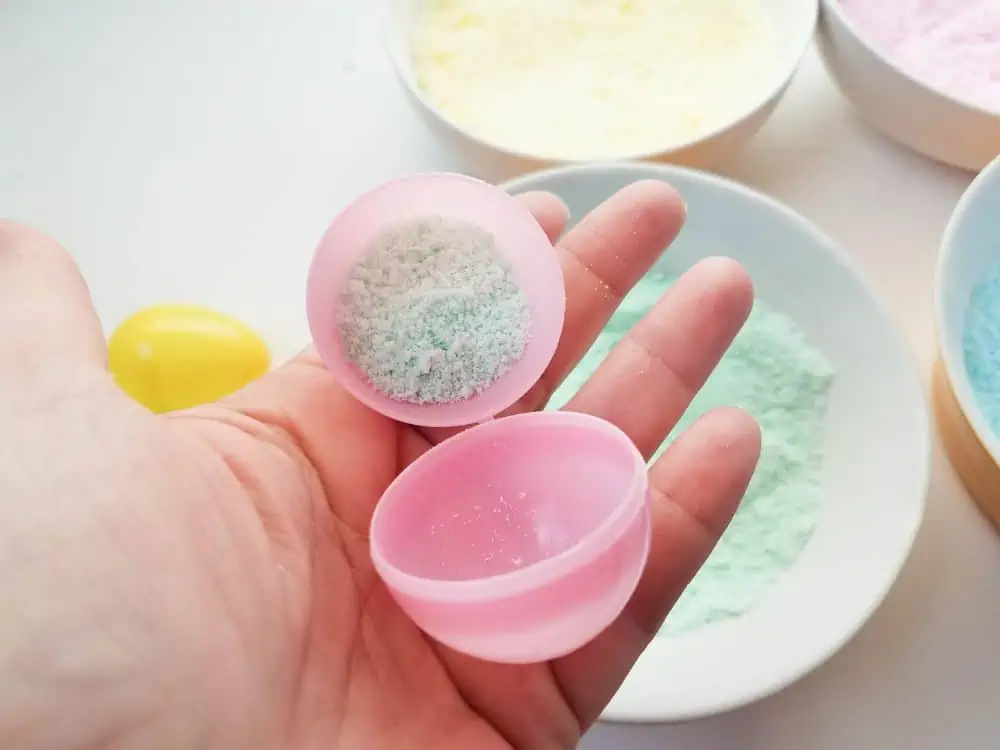
In one half of the egg, use one color to fill halfway, then add another color, stuffing it firmly to fill that half of egg.
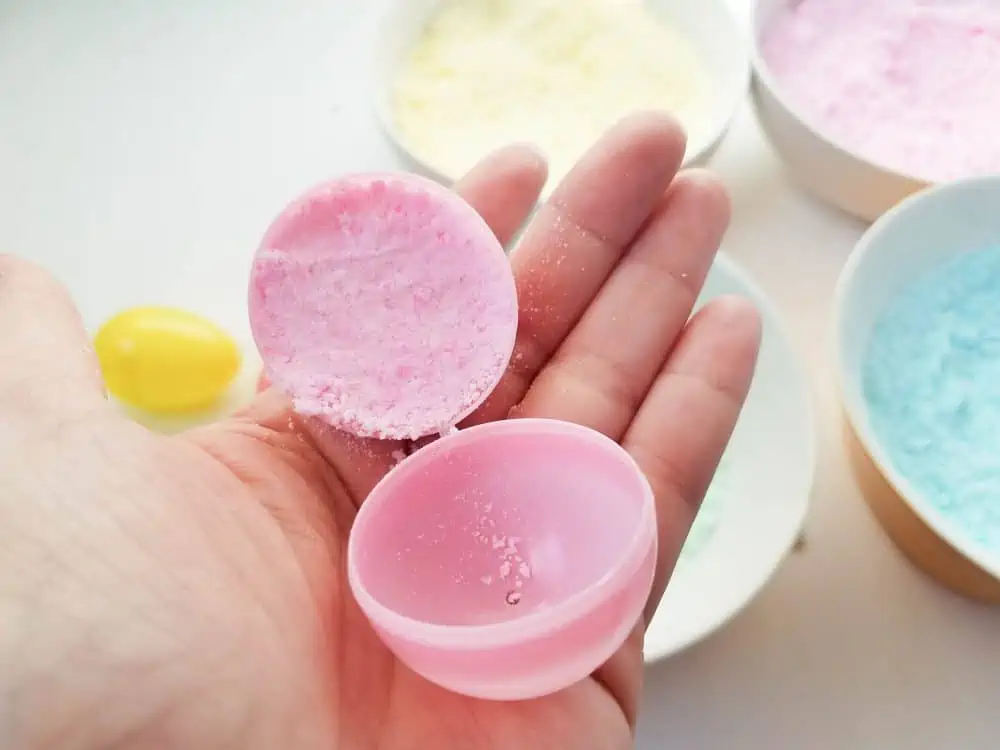
Repeat this process with the other two colors, filling the other half of the egg.
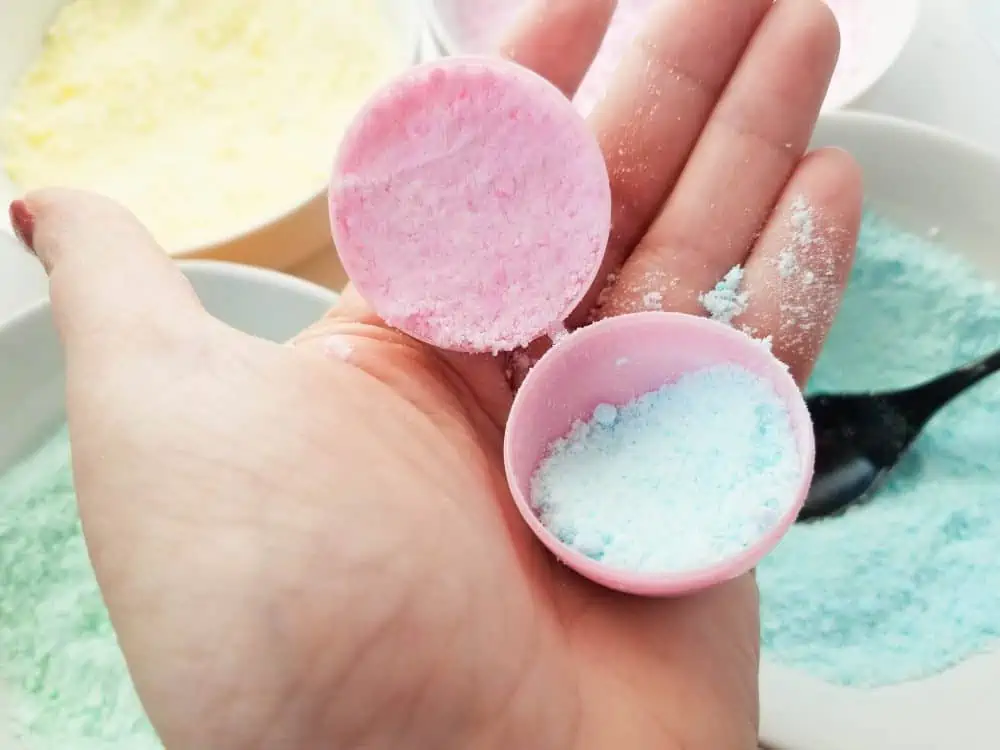
Step 7: Secure both parts of the plastic egg together and let set for one day.
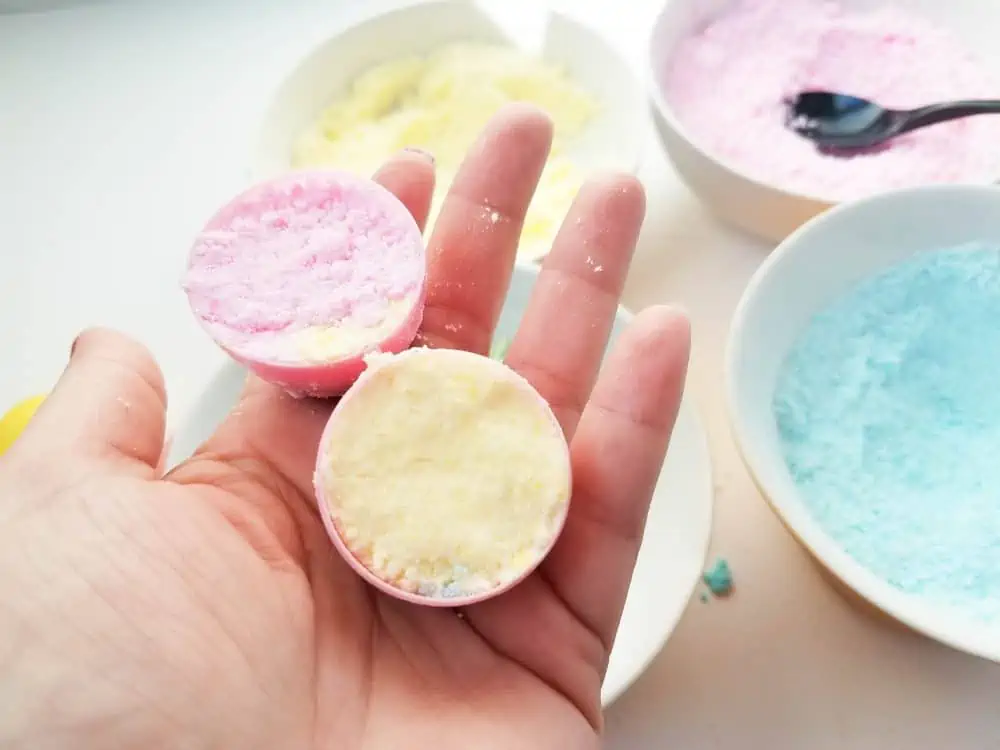
I always give it about a day, just to be on the safe side.
The eggs can be tricky to open, so you can carefully and slowly use a butter knife to help open the gap between the two halves of the egg.
Carefully release bath bombs from eggs and put into an airtight container, or individual cello bags like these.
How to Use Bath Bombs
When you are ready to enjoy a rainbow bath bomb, just add it to some warm water.
Traditionally bath bombs are used in the bath tub, hence the name “Bath” bomb.
However these can be used in a bathtub, kitchen sink or large bowl or any other kind of container that can hold a large amount of warm water.
These are fun to play with because once they hit the warm water they will begin to fizz.
DIY Bath Bombs
If you like this homemade bath bomb recipe, you’ll love these ones too:
- Calming Kids Bath Bombs With Surprise Inside – Kids will love these Homemade Kids Bath Bombs with a toy secretly hidden inside.
- Snowman Fizzy Bath Bombs – These Fizzy Bath Bombs are so easy to make and customize with the essential oils of your choice, and make a great gift idea for people of all ages.
- Cupcake Bath Bomb Recipe – These Cupcake Bath Bombs have a soap frosting that makes them look so much like the real thing!


Leave a Reply