Fresh produce is one of the most difficult things for a family to stock up on.
After all, it starts to spoil and rot within just a few days.
Learning how to dehydrate food, though, is a fantastic way to preserve those types of food.
Stored correctly, dehydrated food can last more than five years, making it an excellent option for those looking to add fresh fruits and vegetables to their stockpiles.
But, if you have never dehydrated food before, you may be wondering just how you get started doing so.
Most preservation methods use the same basic instructions, and dehydrating is no different.
The basics of food dehydration are the same for most anything.
The only thing that changes is how you prepare each food and the times they process for.
Why Dehydrate?
- Cost Savings – Buying in bulk & preserving reduces grocery costs.
- Minimizing Waste – Save produce before it spoils.
- Health Benefits – No preservatives, unlike store-bought dried foods.
- Convenience – Lightweight for camping, long shelf life for emergencies.
What Do I Need to Dehydrate Food?
Dehydrating is one of the simplest food preservation methods.
It is also the one that requires the fewest supplies.
Where canning requires jars, lids, rings, and so on, dehydrating requires only three items at a minimum.
It makes dehydrating a very budget-friendly way to preserve food for those who do not want to spend a ton of money to get started.
To begin dehydrating, you will need:
- Food Dehydrator
- Mesh Strainer
- Sharp kitchen knife or mandolin slicer
You may want supplies, such as a vacuum sealer with bags to place your dehydrated food in for storage, but they are not absolutely necessary as there are other ways to store them.
If you are not entirely sure you will enjoy dehydrating, it is recommended that you wait to purchase the optional items until you get a bit of experience under your belt.
A few of the optional dehydrating supplies are:
- Vacuum sealer with bags
- Mylar bags and oxygen absorbers
- Vegetable brushes to clean food with
- Fruit and Vegetable Wash
- Fruit leather tray inserts
- Additional trays if your dehydrator offers them
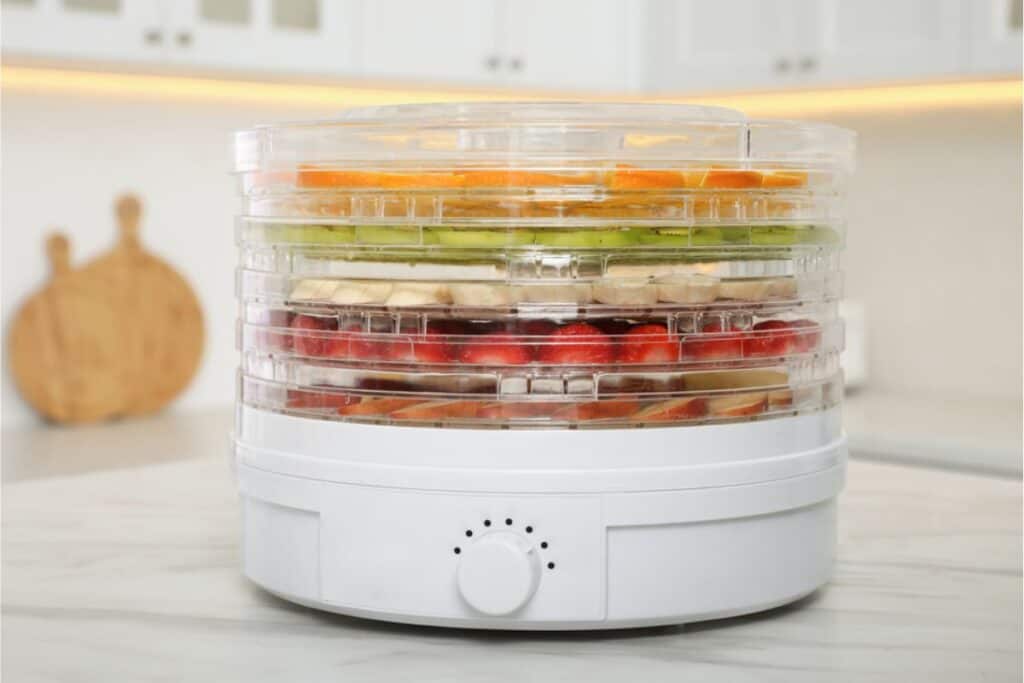
How Do I Choose a Dehydrator?
At their core, dehydrators are all the same, but some offer different features you may want.
The first thing you’ll need to decide is how many trays you want.
Specific models will come with three or four trays but give you the ability to add more.
Others come with more trays but cannot be added to them.
They also come in two shapes; circle and square/rectangle.
If your dehydrator has to fit into a specific cabinet or spot, you will want to choose whichever works best for you.
Finally, some dehydrators come with digital displays that provide temperature control and other options for you, while others have no controls and come on whenever they are plugged in.
Best Foods to Get Started With
Because some foods are easier to dehydrate than others, this is a great beginner-friendly list to get started with:
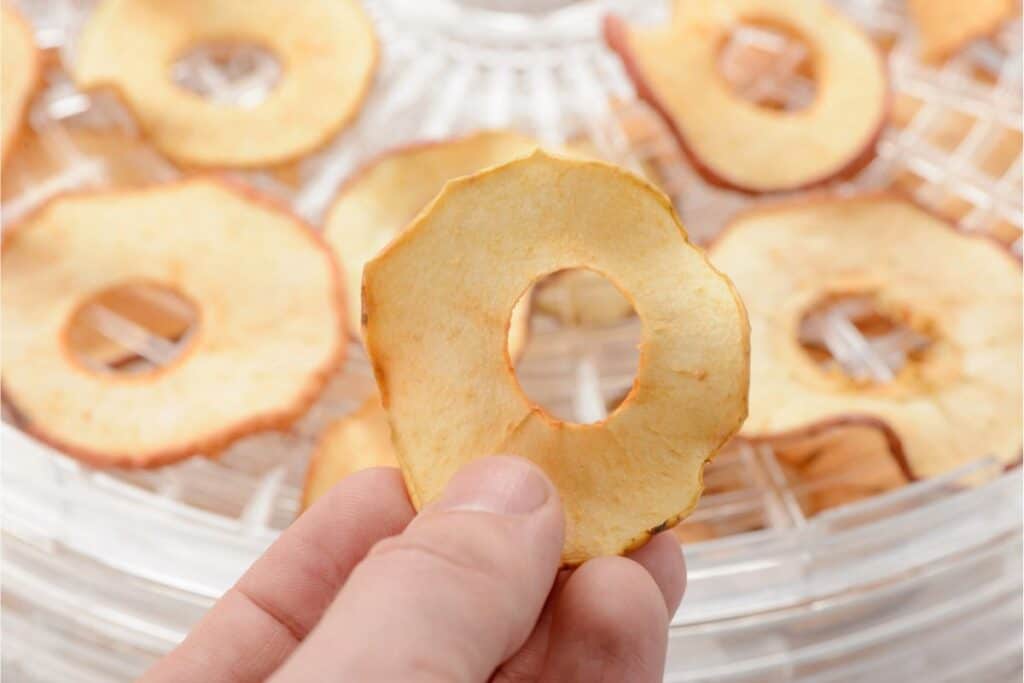
- Apples
- Bananas
- Strawberries
- Tomatoes
- Carrots
- Peppers
- Herbs
This gives you an easy starting point before tackling meats or more complicated foods.

How Do I Prepare Food to Be Dehydrated?
The first thing you will want to do before dehydrating your food is to wash it very well if possible.
For fruits and vegetables, a vinegar/water soak can be used.
You can also use a fruit and vegetable wash if you prefer.
Attempting to dehydrate unwashed fruits and vegetables will essentially bake any toxins that may be on their surface into your final product.
After you have washed everything, inspect each piece thoroughly.
Cut off any parts that are bruised or otherwise not at their best.
These pieces can be dehydrated if you absolutely must, but they may not result in a final product with the quality you are looking for.
To keep any scraps from going to waste, add them to your compost pile if you have one.
Some fruits and vegetables may need to be blanched before being processed.
Your dehydrator recipe will tell you if this is true for what you are drying.

If you are dehydrating meat, you will need to thoroughly cook it before dehydrating it.
Cook it until fully cooked, and then drain and rinse if it is meat that makes its own grease.
Grease can keep food from thoroughly drying, which will result in mold growth on your dehydrated goods, so do everything you can to remove as much of this grease as possible.
Once you have prepped what you’re drying, it is time to size it.
Larger pieces of food dry much more slowly than smaller pieces.
Because of this, you will want to ensure you have got things as small and thin as possible.
You can use a sharp kitchen knife to do this, but a mandolin slicer makes things much faster and easier on your hands.
Slice or chop your entire dehydrator load full at once, so you do not have foods potentially changing colors or waiting while you work to fill your trays.
For meat that cannot be sliced, such as ground beef, break it into smaller pieces before dehydrating.
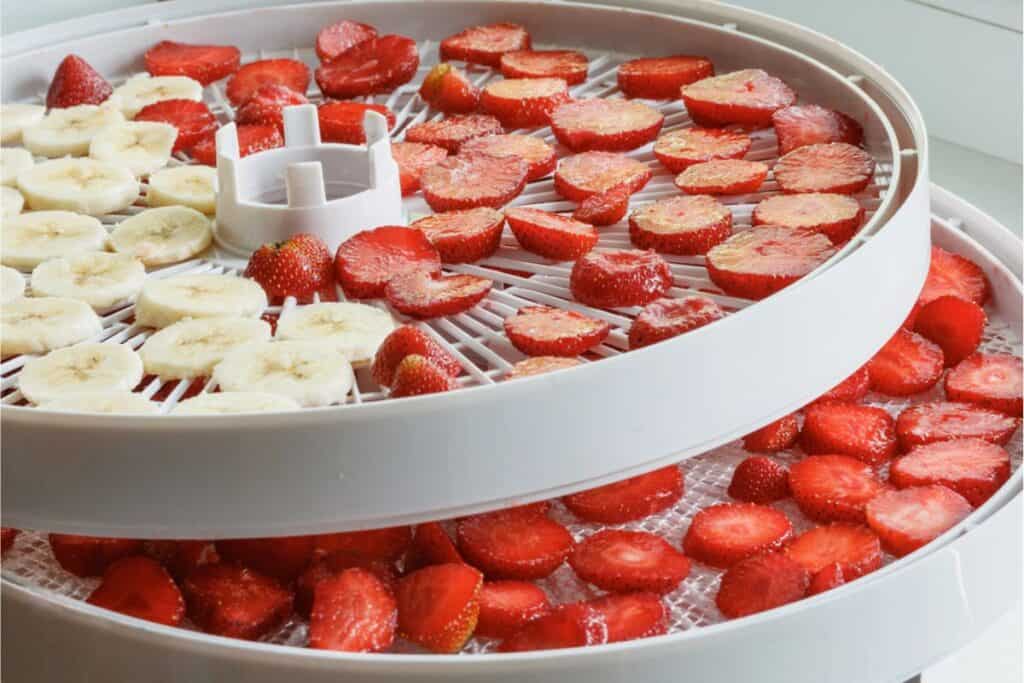
Now you are ready to dehydrate! Load your trays with your sliced food.
This is relatively straightforward, with one exception; make sure nothing is touching each other.
If there are touching parts, they will take considerably longer to dehydrate, which can cause the rest of your foods to burn while you’re waiting.
How Long Do I Dehydrate Food For?
When you first begin dehydrating, it is easy to think that all foods dehydrate for the same amount of time.
However, everything you dehydrate will have a different processing time.
Usually, these processing times are hours long, which is why a lot of home food dryers will set their dehydrator to run overnight.
Before you do this, though, it is essential to realize that you could easily wake up to burnt food if you do this with the wrong thing.
Common Dehydration Mistakes & How to Fix Them:
- Food is still soft after drying? Extend drying time or check if it needs to be blanched first.
- Food has a weird smell/taste? Could be improper washing or dehydration of overripe produce.
- Mold on stored food? It wasn’t fully dehydrated or sealed properly.
Best Uses for Dehydrated Foods
There are lots of ways to use your dehydrated foods, here are just a few fun ideas to get started.
- Add dried veggies to soups & stews
- Rehydrate meats for tacos & casseroles
- Use dried herbs for homemade seasonings
- Perfect for camping & emergency preparedness
Yes! They’re already blanched, so just spread them on trays and dry.
An oven works, but it takes longer and may not dry food as evenly.
It should be brittle (for herbs) or leathery but dry (for fruits & veggies). If unsure, store in a jar for a day, if moisture appears, dry it longer.
Drying your own food may seem overly complicated, but it is anything but.
If you take your time preparing your first foods and ensuring you have completed all steps, you will learn quickly while providing your family with delicious dried foods.
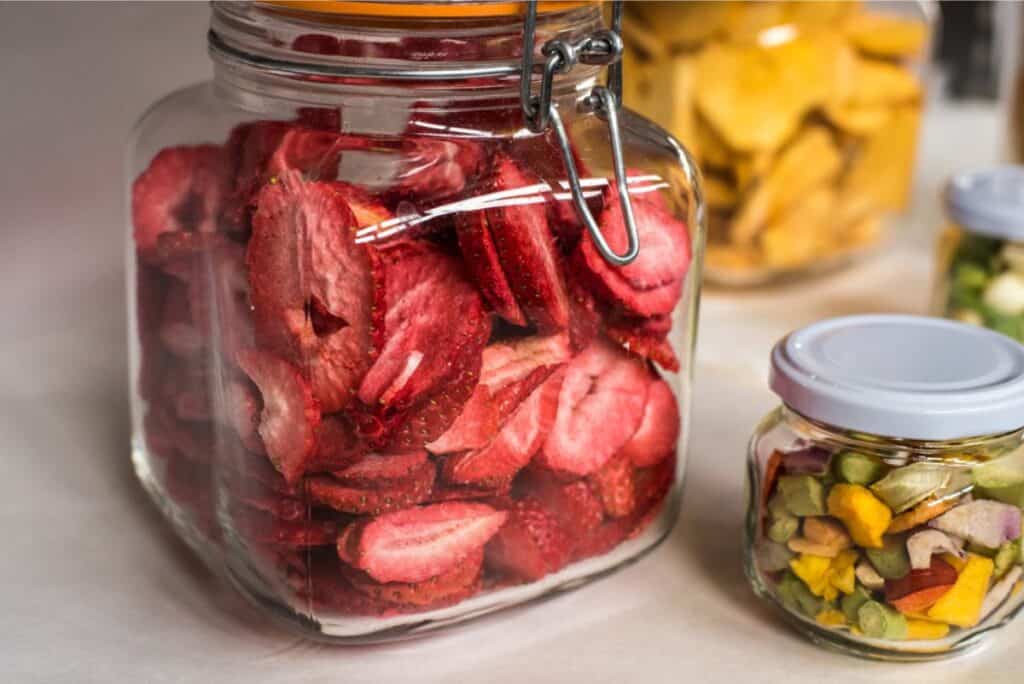
Once your food has dried, you can either store it on its own or use it in your favorite recipe.
Dehydrated fruits are great in a homemade trail mix or as stand-alone snacks for you and your kids.
No matter how you use it, you will be glad you took the time to learn how to get started dehydrating food.
More Articles Like This
- How to Build a Stockpile – Imagine opening your cabinets and knowing you have everything you need—without making a last-minute, overpriced grocery run.
- How to Store Potatoes to Last Longer – They have an incredible shelf life if they are stored correctly.
- Old Fashioned Skills for Sustainable Living – Odds are if your great-grandmother were here to talk to you she would tell you about these 4 essential skills that helped her get through everyday life, save money, and never have to worry about how she would provide for her family.