Since we were kids we’ve been taught not to waste food.
But everyday we throw away kitchen scraps that could be composted.
Table of contents
But who has time to build a smelly compost bin in their backyard and turn it with a shovel or pitchfork (do you own a pitchfork?) and wet it down?
Not to mention how much our neighbors might hate us for having one.

How to Make a Worm Bin
However, you can easily make a simple worm bin for vermicomposting and turn that food waste into worm castings or vermicasts.
You can then use these castings as perfect soil conditioners for your garden. The organic matter makes great fertilizer for your lawn and garden plants.
You can be worm farming in no time. This is a great project for the whole family. The kids will love helping to take care of the worms, too.
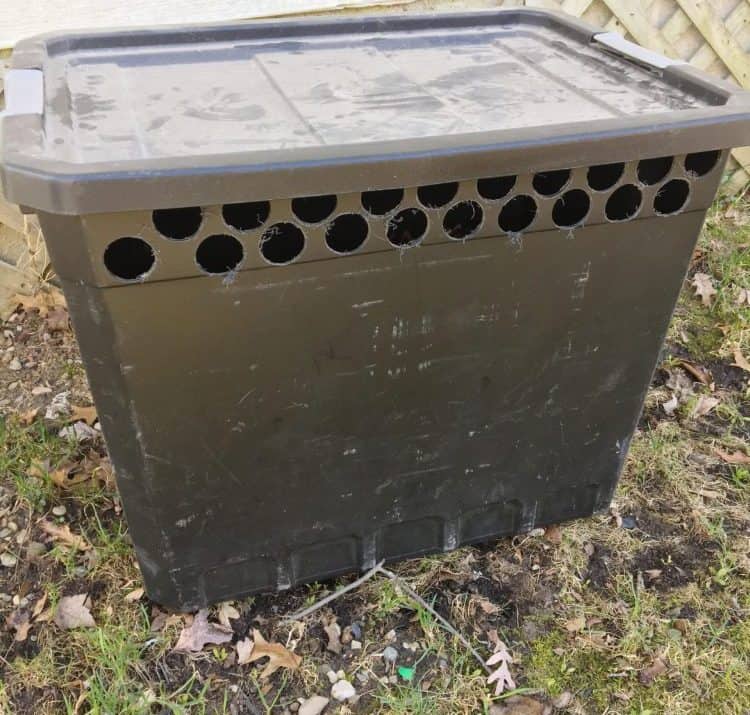
Choose A Container
Get a plastic tub with a lid from anywhere or reuse one that you already have.
Just be sure to clean it out well and dry it thoroughly. It’s important that the size of the container or bin is not so big that you can’t move it around if you need to.
Use a drill and make several holes about the diameter of a pencil in the lid and around the side of the bin for ventilation.
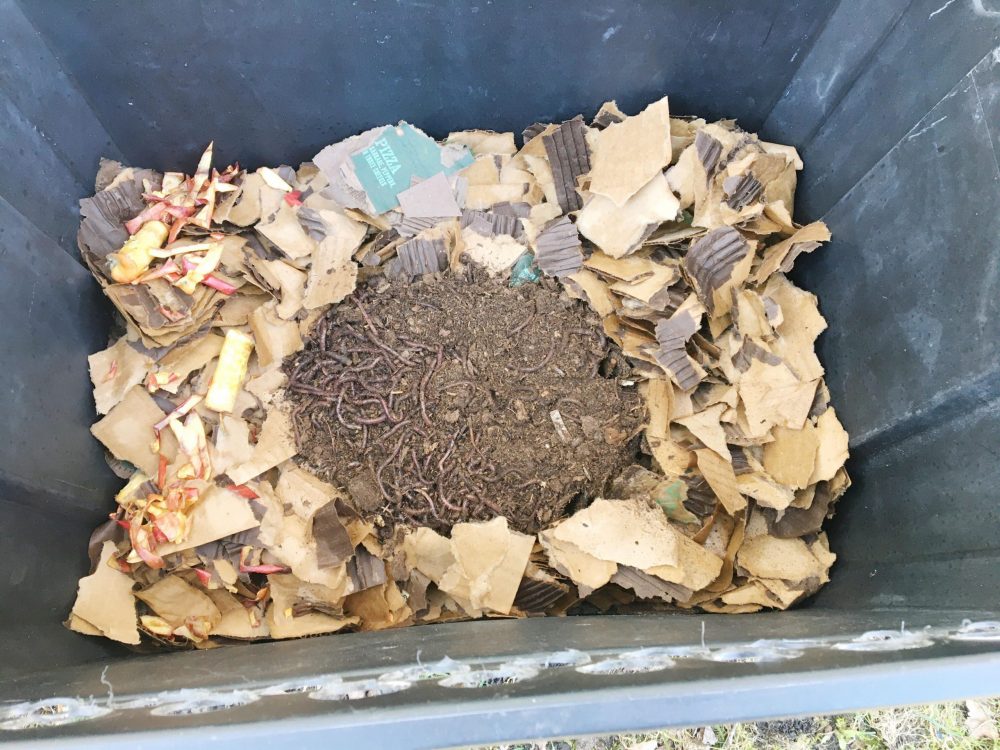
Fill With Bedding Materials
Your worms need bedding, so you’ll want to use shredded cardboard, copy paper (not containing colored ink), newspaper (no glossy pages), and/or envelopes (with no clear windows).
If you like you can purchase Coconut Coir and add or use it alone, too.
You’ll need to make sure that the bedding is moist and not wet.
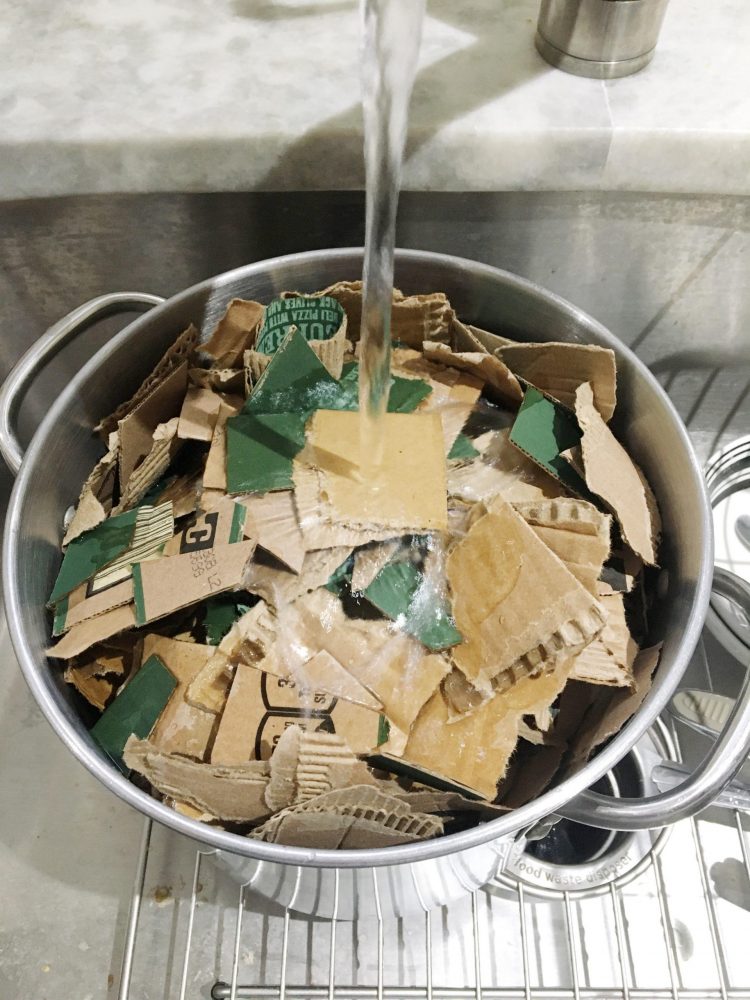
You can soak the bedding to thoroughly dampen it. When you pick up a handful and squeeze it out like a sponge maybe a drop or two of water can come out but no more.
If the bedding is too wet the worms will fear drowning and won’t stay in it they will try and escape.
If the bedding is too dry it will be too uncomfortable for them and they will try an escape. It needs to be just right (remember Goldilocks?).
Fill the bin about halfway to three quarters of the way full with the bedding.
You can prepare the bin ahead of time and let it sit a few days while you wait on your worms to arrive from the worm factory.
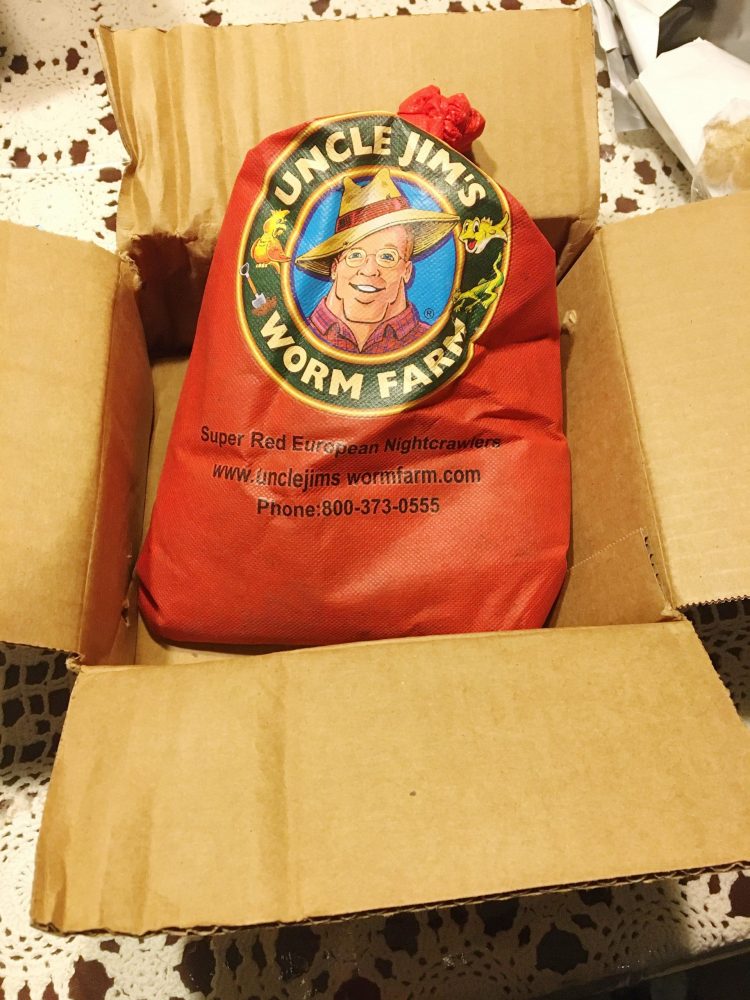
Get Some Worms
Red wiggler worms or Australian night crawlers are the best for worm farming.
You can choose to buy your composting worms from an online store like Uncle Jim’s Worm Farm or you might find them locally at a bait and tackle shop.
Feed Your Worms
You can feed your red worms with small pieces of food scraps and other items such as:
- Eggshells (helps them grind their food and digest)
- coffee grounds (helps them grind their food and digest)
- fruit peels (not citrus or tomatoes)
- Vegetables
- Dryer lint
- Paper towels
- Napkins
Avoid feeding your worms:
- Meats
- Fats
- Dairy
- Citrus
- Tomato
- Cooked foods
Meats, fats and dairy will draw smells and rodents. Citrus is too acidic for the worms and tomatoes tend to make the bedding too wet.
When feeding your worms be sure to bury the food under the bedding and in a different place each time to be sure they are composting your entire bin instead of just one place.
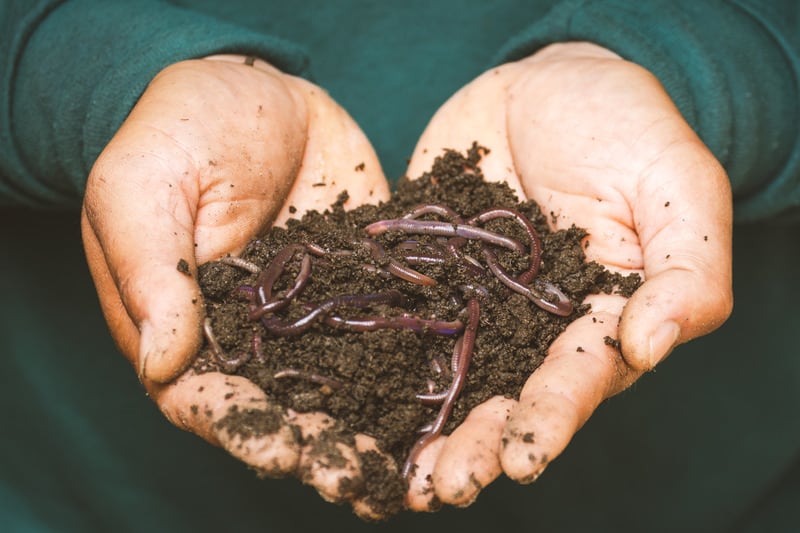
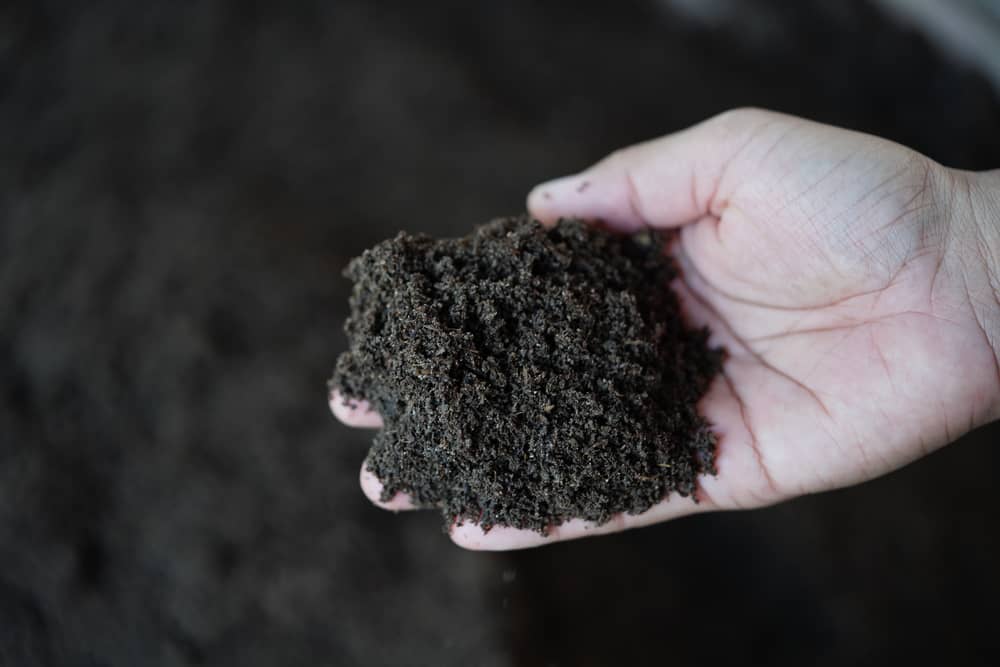
You’ll soon see the bedding dwindle and the food will be gone and you’ll see black dirt or worm poo which is called worm castings and that means your bin is working.
Once it’s time to harvest your castings you’ll have the best fertilizer you can use, gardeners and farmer’s alike call it “Black Gold”.
Don’t get in the bin everyday and move everything around or disturb the worms, let them live in peace.
But do keep an eye on the food so you’ll know how often they need to be fed.
You can use an old coffee container or anything to store you scraps in (you can even buy them on Amazon). When you’re preparing a meal take all of the fruit and veggie cuttings that you would usually throw away and add them to your collection of food for your worms.
Choose The Best Location
Your worm farm should be kept out of direct sunlight and heavy rain.
This is why it’s highly recommended to have bins that are light and portable so that you can easily put them indoors or outdoors as the need arises.
The ideal temperature for the worm bin ranges from 40 to 80 degrees Fahrenheit.
You can keep them in a closet, or under the kitchen sink (depending on size), or even in the basement.
Care And Maintaintenance
The smell of your worm bin says a lot.
If it gives off a bad odor, then it means that your worm bed has too much water. Hold off the feeding and stir the contents to increase the flow of air inside the bin.
If you see your worms trying to crawl out of the bin, that means they’re not happy with their current environment.
The worm bed could be too wet or overly acidic, or too dry, you can use a water bottle to spritz the bedding, if need be.
Fix the issues you find and if they still want to “wander”, take off the lid, put a lamp or light shining directly into the bin, not an overhead light one close to the bin.
They don’t like light and it will force them to borrow down and give them time to acclimate. Leave the light on for 48-72 hours all day and night to ensure they get settled in properly.
Sometimes the stress of environment change will cause them to try and escape, also if rain is coming they can sense it and they may start coming up to keep from drowning.
Harvesting Casings
When harvesting, it’s important not to stress your worms.
There are many methods of harvesting your worm castings and as many posts and videos online to learn the way that works for you.
Worm farming greatly reduces the amount of garbage being thrown into landfills.
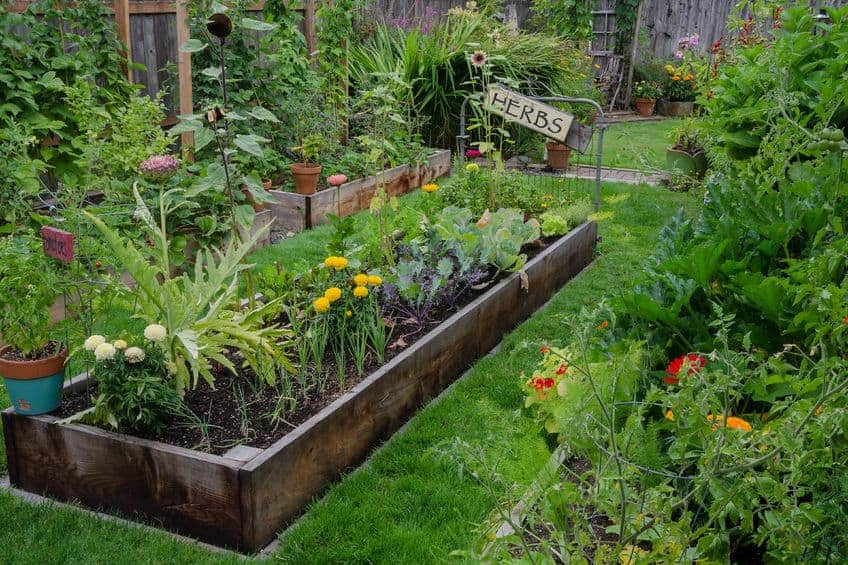
It also improves your garden soil’s condition when you use the finished compost to add to your soil, and it can also be an amazing educational project for your kids.
Do you already have a worm farm? Share your experiences in the comments below.
More Gardening Articles