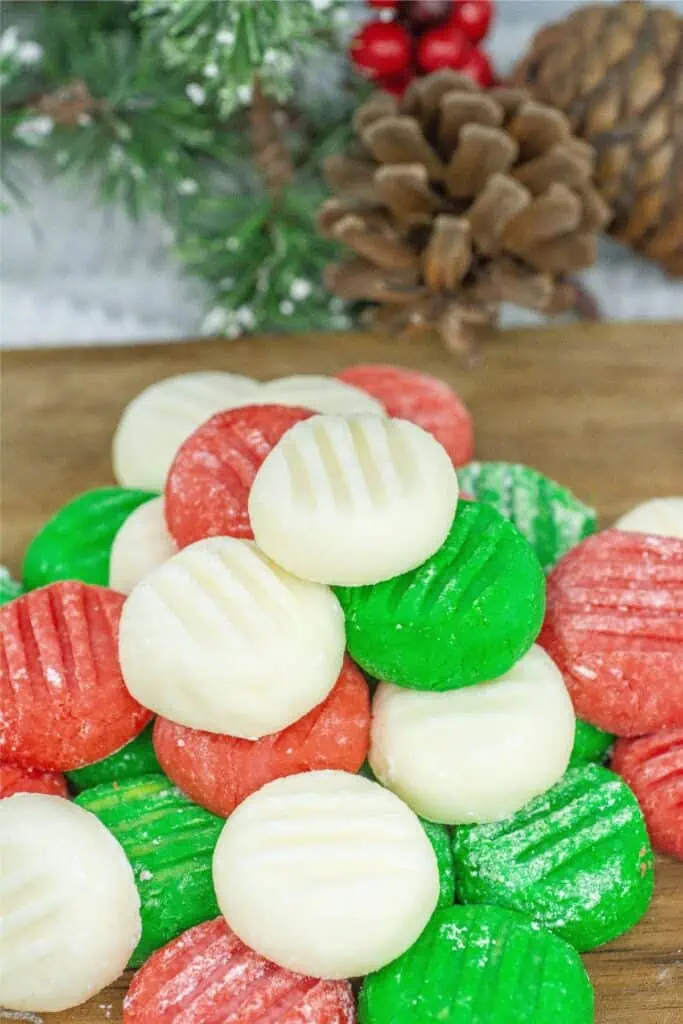
These holiday butter mints are a must for the holiday season.
A cream cheese and butter mint that is melt-in-your-mouth delicious.
It is so easy to make butter mints and once you make them you will want them for every occasion throughout the year.
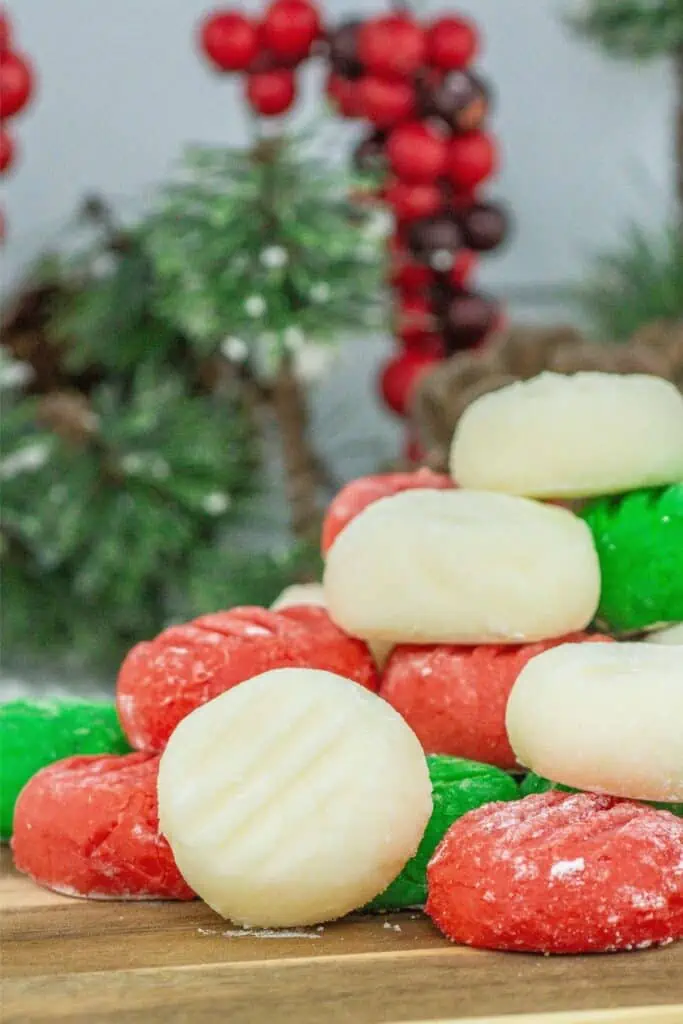
Butter mints are traditionally served at weddings, baby showers, and the holidays.
Grab any color of food coloring and create mints that match any themed event.
Pair your mints next to my Christmas tree meringue cookies for another show-stopping treat.
Or try these candy cane reindeer treats!
Reasons You Will Love These Holiday Butter Mints
- Budget-friendly mints to make for the holiday season.
- This is an old-fashioned butter mint recipe that is tried and true.
- A nice smooth mint flavor in each of the butter mints.
- A great make-ahead after-dinner mint recipe to keep on hand.
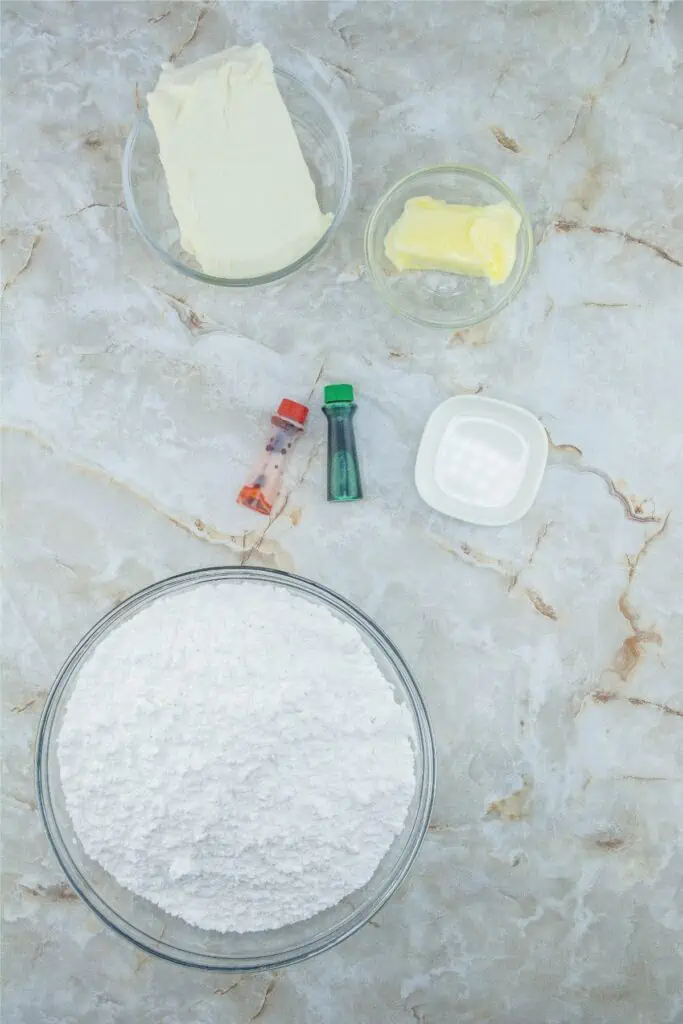
Ingredients
Cream Cheese – Make sure to use softened cream cheese so it will mix well with the other ingredients.
Butter – Unsalted butter is what I recommend. If you use salted butter it can be overpowering.
Mint Extract – Use mint extract to add that smooth minty flavor to the butter mints.
Powdered Sugar – Powdered sugar is going to give you that ultra-velvety texture.
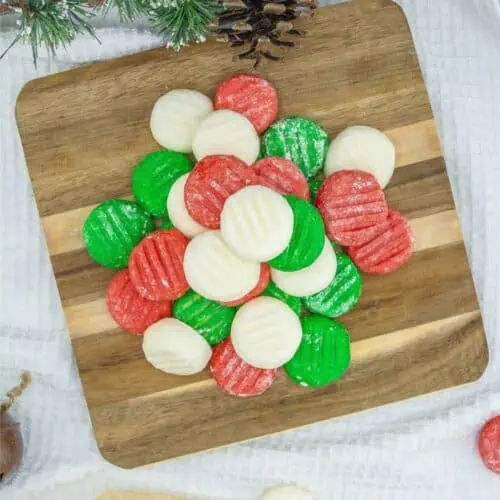
Food Coloring – I used red and green food coloring for this recipe to make it Christmas-themed. But feel free to use any colors you would like.
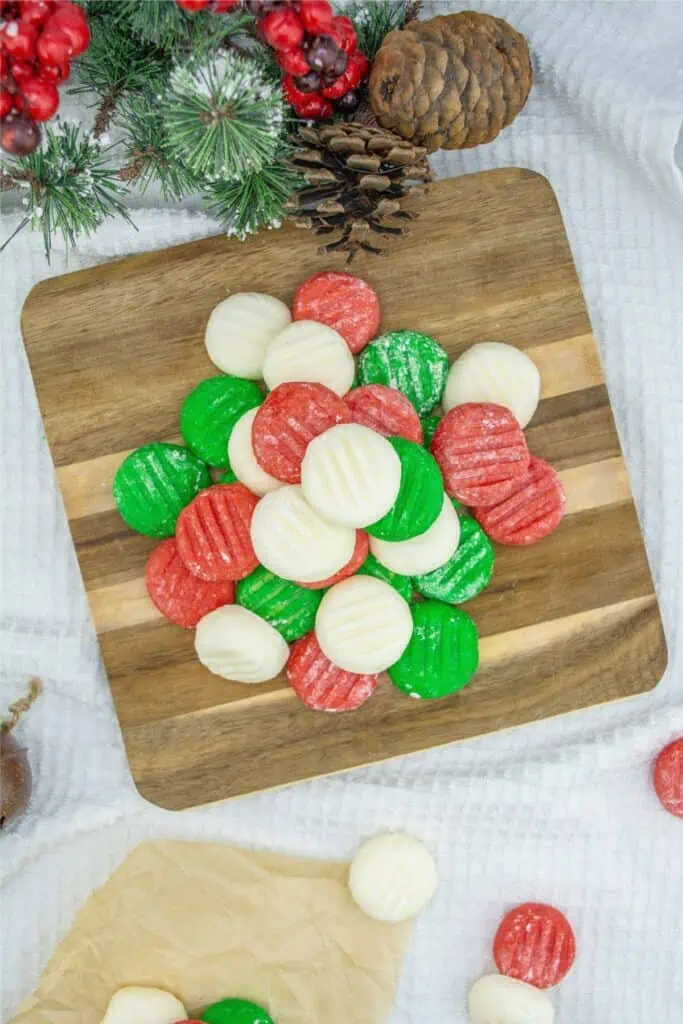
How to Make Buttermints
Full steps on how to make these Creamy Buttermints are in the printable recipe card.
This is a quick walk-through on how it is made.
Step 1: Line your cutting board or tray with parchment paper.
Then sprinkle with a layer of powdered sugar.
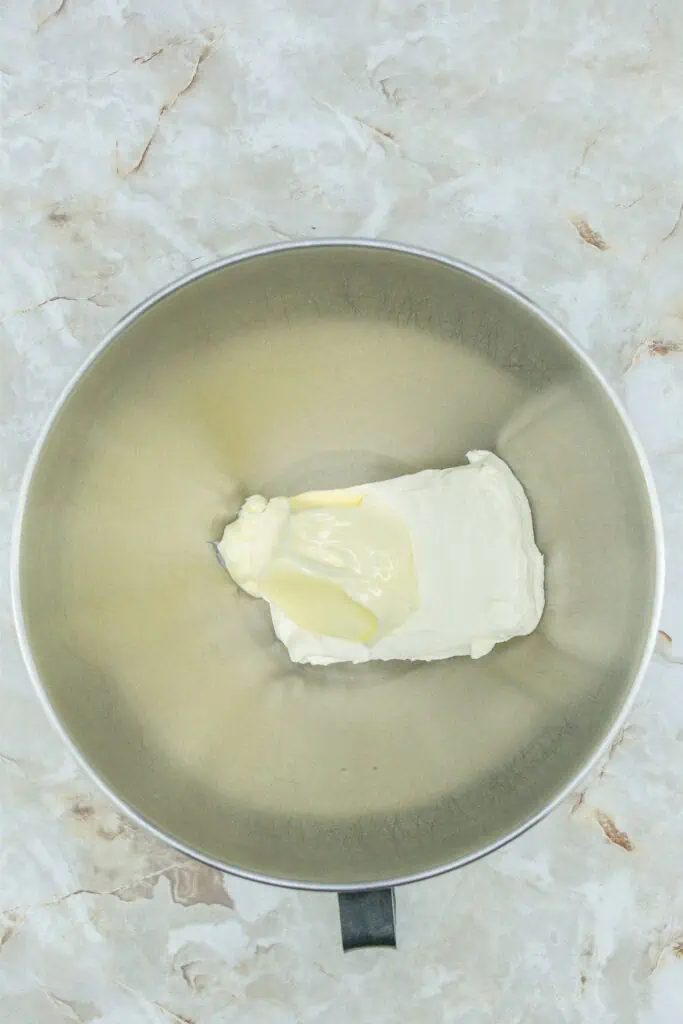
Step 2: In a bowl, you will add your cream cheese and butter and mix well.
Make sure to scrape down the sides.
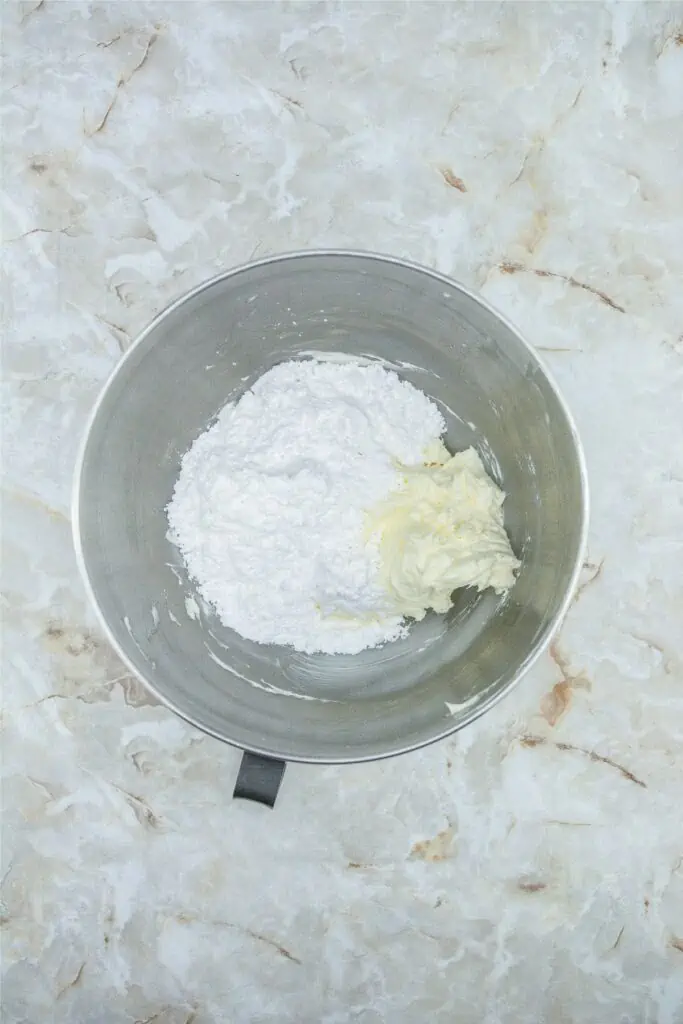
Step 3: Slowly work in the powdered sugar.
Make sure as you are mixing you scrape sides and bottom of the bowl.
Step 4: Add in the mint extract to fully mix.
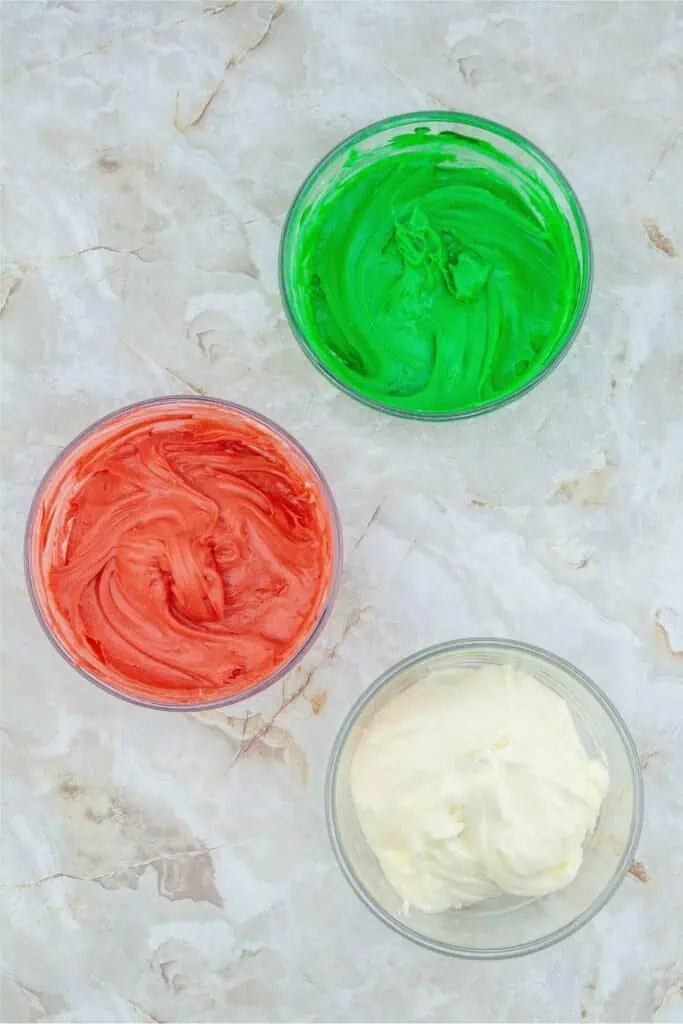
Step 5: Divide dough into 3 pieces and add food coloring to each. Chill as directed.
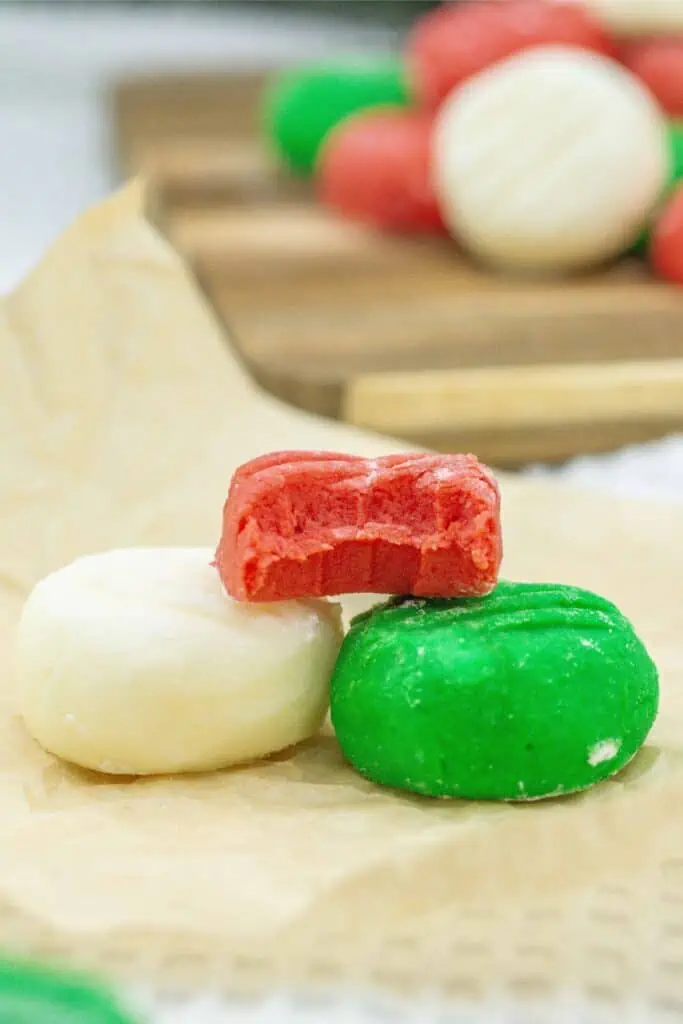
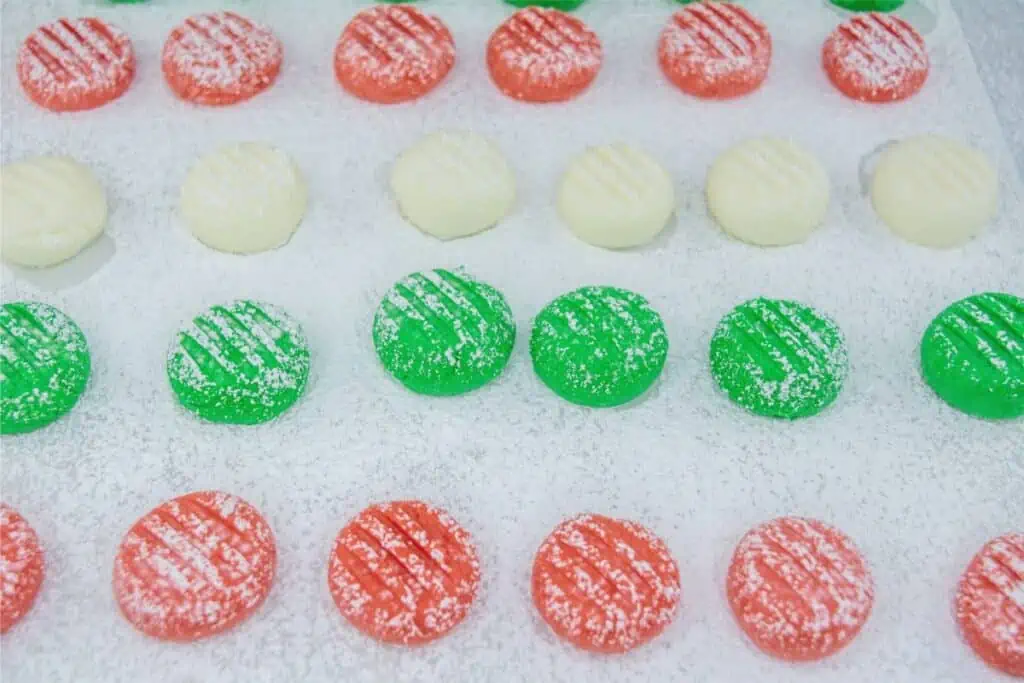
Step 6: Then once chilled you will shape the mints and dust them with powdered sugar.
Step 7: Return the shaped mints to the fridge, to set up. Then serve and enjoy.
After dinner mints and butter mints are sometimes used as the same, but they are not the same. Butter mints are made with butter and are a more melt-in-your-mouth consistency. After dinner mints can be made with other ingredients and while they both are mints, the texture varies.
Start by adding less extract to the dough. Then taste and if you want a stronger mint flavor then you can add more mint extract. Adjust the flavor as you would like to reach your desired mint flavor.
Tips for Making
- Using powdered sugar to create a nonstick surface is a must. Otherwise, the mints will stick together.
- Using a hand or stand mixer is going to help get that extra velvety smooth texture to the mints.
- Roll the dough and then cut into the shape you want. Work in sections of the dough so it is easier to handle.
- Allow time for the mints to set up before serving. Otherwise, the texture will be off.
- You can use any color of food coloring to create mints that fit your specific look. Or you can leave out the coloring if you don’t want artificial colors.
Variations to Recipe
Flavor – Do you want to alter the flavor of the mints? If so, consider using a different flavor of extract. Spearmint, wintergreen, vanilla, etc. Feel free to change up the flavor with extracts.
Shape – You can use cookie cutters or silicone-shaped molds to change up the look of your mints. Or you can hand cut and shape them if you prefer.
Heavy Cream – If you add a tablespoon of heavy whipping cream to the mixture, it elevates the flavors of the mints even more. It just adds a richer flavor to the mints.
Storing Holiday Butter Mints
I prefer to keep these holiday butter mints stored in a sealed container in the fridge. If you find the mints stick together dust a bit more with powdered sugar to keep them from sticking together. You can also use parchment paper or wax paper for placing between layers of mints.
Or extend the shelf life even more by freezing the mints. Place in an airtight freezer container or freezer bag. Freeze for 3-4 months. Then eat straight from the freezer or thaw in the fridge overnight.
More Holiday Recipes
If you liked this sweet treat, you’ll love these too:
- Brownie Batter Dip – This Edible Brownie Batter Dessert Dip Recipe is so easy to put together and makes the perfect holiday treat.
- Peppermint Bark – Semi-sweet chocolate and white chocolate collide with that cooling and sweet peppermint flavor in each bite.
- Oreo Santa Hats – These make a fun and easy cooking activity for kids of all ages.
- Candy Cane Reindeer – A cute and easy-to-make sweet treat that you can give as a gift or eat with your family and friends.
- Meringue Christmas Trees – This meringue recipe will easily dress up a cookie tray for your holiday sweet tooth cravings.
- Old Fashioned Christmas Candy – Super easy and cheap! They taste a lot like Heath bars.
- Christmas Tree Brownies – A fun and simple treat to make during the holiday season.

Holiday Butter Mints Recipe
Ingredients
- 8 oz cream cheese softened
- ¼ c unsalted butter softened
- 2 tsp mint
- 5 c powdered sugar plus more for sprinkling
- Green and red food coloring
Instructions
- Line a cutting board or sheet pan with parchment paper – be sure it fits in the fridge. Sprinkle with a light dusting of powdered sugar. Set aside.
- In the bowl of a stand mixer, combine the cream cheese, butter and mint extract. Cream together.
- Add in one cup of powdered sugar and mix on low speed to combine.
- Continue to add one cup at a time and mix well between each addition. Scrape down the sides and mix until smooth and all the powdered sugar is incorporated.
- Divide the mixture equally between three bowls. Tint one bowl green and one bowl red.
- Cover the bowls with plastic wrap and chill for about an hour or until firm.
- Once firm, scoop out a heaping teaspoon’s worth and roll into a ball. Place on the parchment lined pan.
- If the mixture is too sticky, use a sprinkling of powdered sugar to dust your hands to roll easier.
- Once all the mints have been shaped, use a fork to press the balls into a disc. Use a dusting of powdered sugar to prevent the fork from sticking.
- Place the sheet pan back in the fridge and allow to harden for an additional 2-4 hours.
Notes
Nutrition
Nutritional information is automatically calculated with ingredients and serving size and may not be accurate. Please always double check with your own nutritional apps as well.

