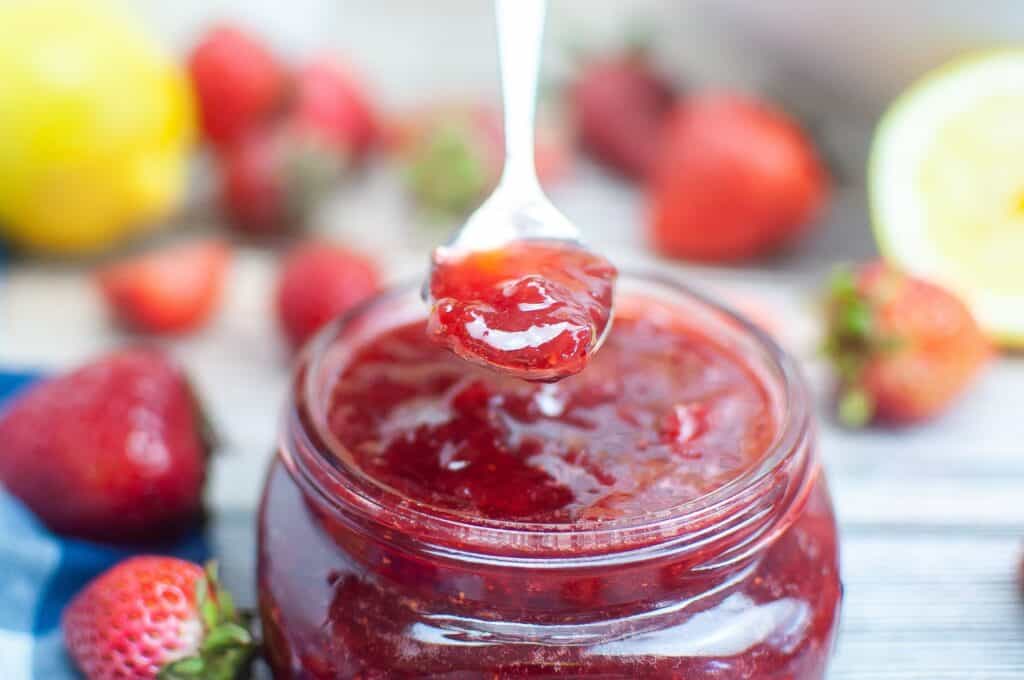
Spread this strawberry jam on toast, bagels, pancakes and more.
A no-pectin strawberry jam recipe that is made with just four simple ingredients.
No extra preservatives, just simple ingredients that create the best-flavored jam you will ever have.
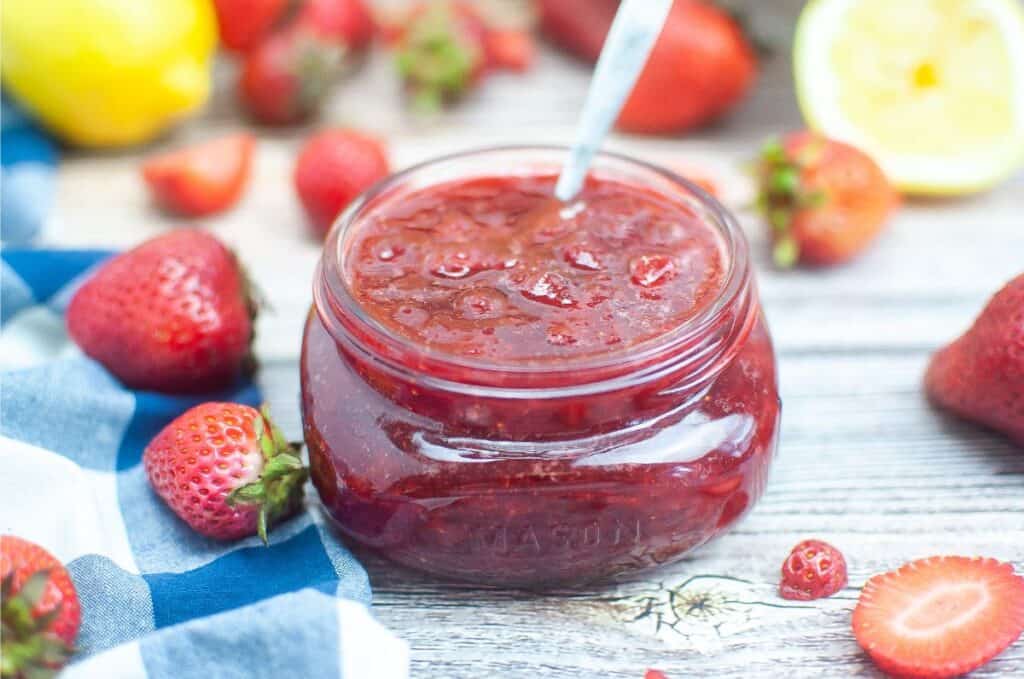
Skip the store and learn how easy it is to make a simple and fresh jam that will spread perfectly.
You can make and use the jam right away, or go the extra step and can the jam and use throughout the year.
Now I love this strawberry jam on my homemade biscuits and homemade bread.
Both are the perfect pairing to go next to dinner or even a mid-day snack.
Also, if you love homemade goods, try my raspberry jam as well.
This Strawberry Jam Recipe Is…
- A fresh jam that requires only fresh ingredients for the purest flavors.
- No pectin is needed for this thick and sweet jam.
- This berry jam recipe is made with just four ingredients.
- You can use this jam anyway you would like.
- Makes a wonderful gift for loved ones and friends for the holidays.
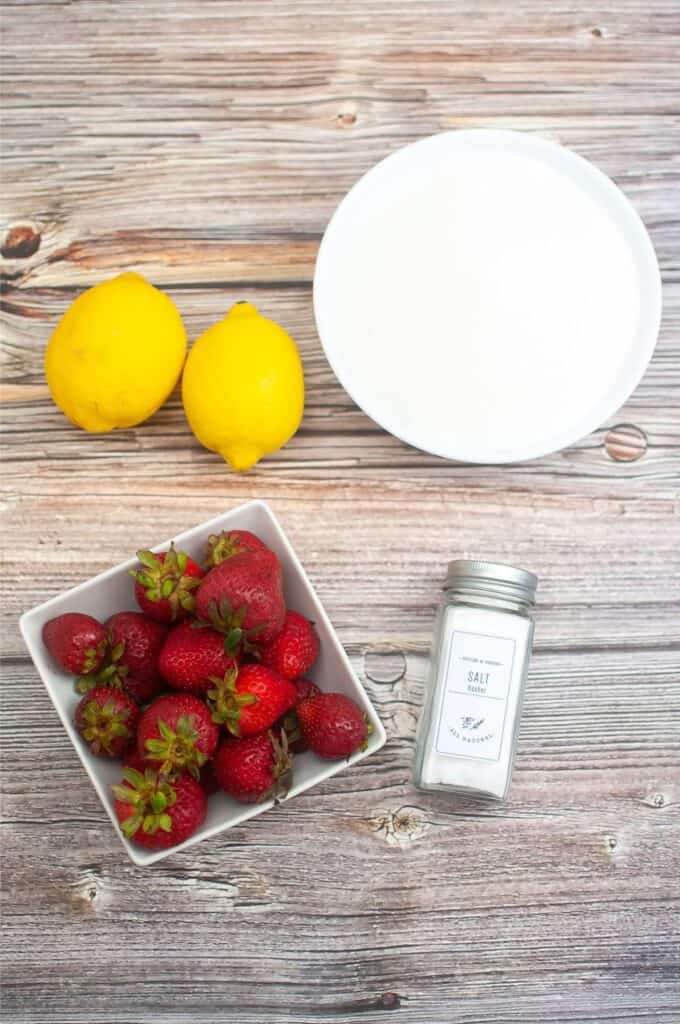
Ingredients Needed For Recipe
Strawberries – Reach for brightly colored and plump strawberries for the best flavor. Try not to use white, yellow, or greenish colored areas of the strawberries as that can make the jam tarter.
Sugar – White sugar is used to help break down the strawberries but also it acts as a preservative to help reduce the growth of bacteria.
Lemon Juice – The acid for this recipe comes from the lemon. It is going to add some tart, and tangy flavors and balance out the sweetness in the berries.
Salt – Salt is used to enhance all the flavors in the jam. Without the salt, you will find the jam lacks a bit of flavor.
How to Make Jam
Full directions on how to make strawberry jam, including how to can your jam are in the printable recipe card below.
This is a quick walkthrough of how it is made.
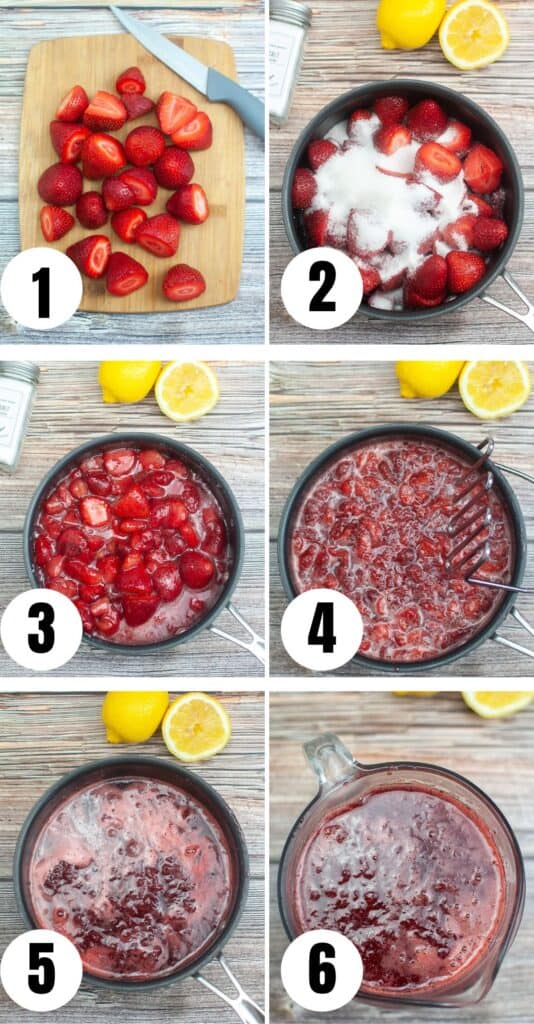
Step 1: Prep the strawberries and add them to the pan.
Then add in the sugar, lemon juice, and salt.
Step 2: Cook on medium-low heat, and stir often until the sugar is fully dissolved.
Work at breaking down the strawberries into smaller bits.
Step 3: Bring the mixture to a light boil, and then drop the heat to low and simmer until it thickens to your desired texture.
Step 4: Remove the pan from the heat and then spoon into jars and refrigerate, or can the jam.
Fresh or frozen berries can be used. Just thaw the strawberries before you place in the pan, as it will help remove a bit of the excess liquid.
Since there is no pectin you need to allow the jam to break down and thicken in the pan. Once it meets your desired texture then add to jars. Don’t add to jars when it isn’t thick as it will not thicken more as it cools.
You will find the flavor is off, the smell changes, or you see mold growing on top. I always recommend looking over jam before eating if it has been stored in the fridge for awhile.
Variations and Tips for Strawberry Jam Recipe
- You can use any berries for this recipe. Raspberries, blackberries, or even a mix of berries for a different flavor profile.
- Add in a little cinnamon for a warm spice pairing. I would do 1/4th teaspoon.
- A splash of vanilla will add even more flavor.
- Feel free to muddle mint leaves and mix in at the end, to add a minty twist to the strawberry jam.
- The sugar and lemon juice helps to create a natural pectin so no real pectin is needed from gel or powder form.
- Sterilize the jars properly if you plan to can the jam. Otherwise, it can cause the jam to spoil.
- When canning make sure the seal fully seals. You know it has if you press the center of the jar and it doesn’t make a popping sound. If it does make a pop sound it didn’t seal right. Store that jar in the fridge and use it within 3 months.
- Use a ladle or spoon and skim off any of the foam on top of the surface of the mixture on the jam before you add it to jars. This creates a clearer jam.
- Prepping the berries ahead of time is imperative for the best flavor of the end result.
Storing
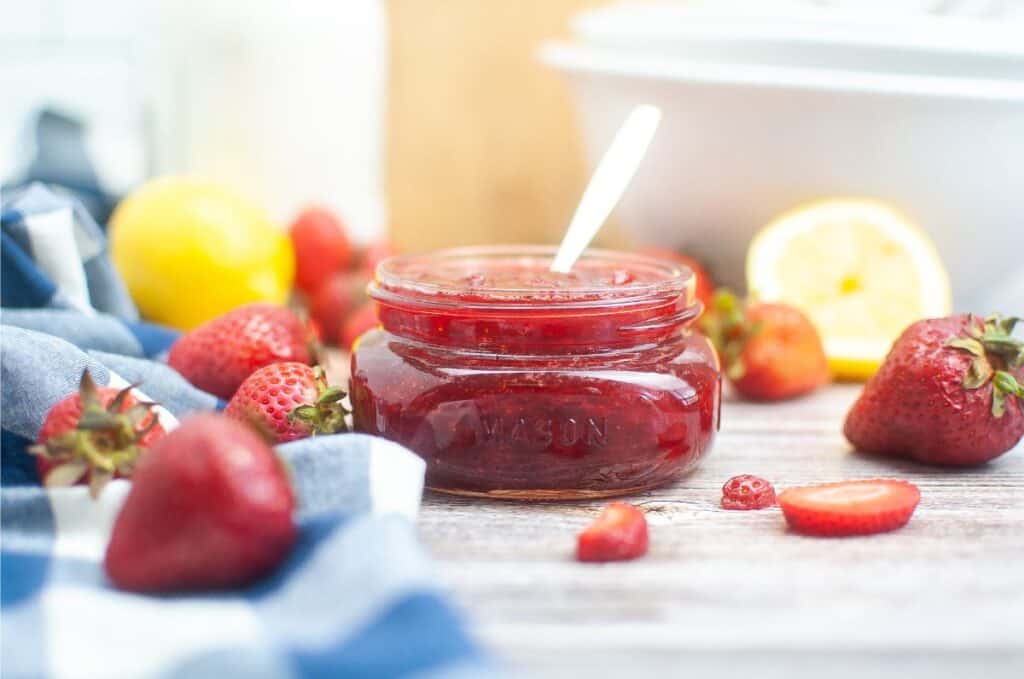
This strawberry jam can be stored in a sealed container in the fridge for up to 2-3 months.
Discard if it begins to change in flavor or if mold is growing of course.
Now, I also share directions on how to can the jam. If you can, you can store unopened jars in a cool dry pantry for up to 1 year.
Use within 2-3 months of opening the jar and store in the fridge once you break the seal on the jar.
More Strawberry Recipes
If you liked this strawberry recipe, you’ll love these ones too:
- Strawberry Oatmeal Bars – This simple recipe is perfect for an afternoon snack or to take to a cookout.
- Strawberry Belgium Waffles – This recipe is so decadent and super easy to whip up for your loved ones using many common household ingredients!
- Strawberry Ice Cream – a delicious homemade recipe that uses fresh strawberries.
- Strawberry Shortcake Pops – The perfect summertime treat!
- Strawberry Icebox Cake – the easiest frozen strawberry dessert.
- Strawberry Blueberry Trifle – This pound cake trifle is the perfect addition to a summer barbecue. It just screams Fourth of July or Memorial Day to me!
- Strawberry Cream Mousse – a super easy mousse that you can make in no time at all!

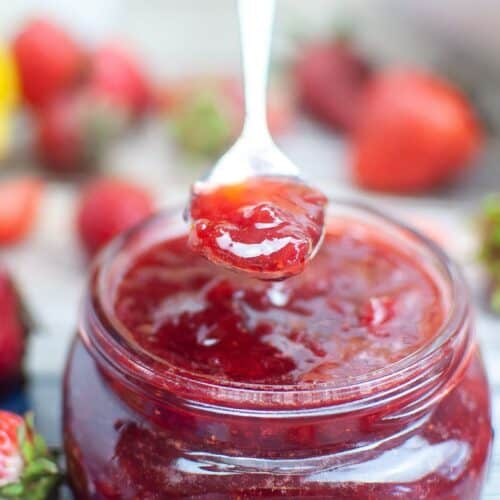
Strawberry Jam
Ingredients
- 1 lbs of strawberries
- 1 1/2 cups of granulated sugar
- 1 lemon worth of juice
- 1/2 teaspoons salt
Instructions
- Prepare the strawberries buy cutting off the tops.
- Place the strawberries, sugar, juice squeezed from lemon, and salt to medium sauce pan over medium low heat. Stir it regularly.
- Once the sugar has completely dissolved, mash the strawberries into small bits, bring the jam to a low boil, drop the heat to low and let simmer until it thickens to desire.
- Remove and let cool. Place in jar and store in fridge for up to 3 months.
For canning:
- Clean and sterilize your jars by washing them in hot, soapy water, rinse them well, and then boiling them in a pot of water for about 15 minutes. (Make sure the jars are completely dry before filling them.)
- Once your jam has cooled, fill your jars. It’s important to leave about 1/4 inch of headspace at the top of the jar. This will allow the jam to expand as it cools following the sealing process.
- After filling jars, wipe off any excess jam from the rims with a clean, damp cloth to ensure a tight seal.
- Place the lids on the jars, ensuring they are centered and flat. Twist on the screw bands until they are “finger tip” tight. You don’t want to over-tighten the lids, air needs to be able to escape during the canning process.
- Place the filled jars back into the boiling water bath, ensuring they are covered with at least one inch of water. Boil times for 12oz and under boils for 10 minutes, for 16 oz boil for 15 minutes and for 32 oz boil for 25 minutes. Add 2 minutes of Billie time per 1,000 feet above sea level.
- Once the jars have finished processing, remove them from the water using a jar lifter and allow them to cool on a towel or rack for about 24 hours. Once cooled, check to ensure each jar has sealed properly by pressing on the center of the lid – if it pops up, it has not sealed and should be refrigerated and used first.
- Store the jars in a cool, dry place and let them set for about two weeks before using. This allows the flavors to develop. Your jam should keep for up to a year when stored properly.
Nutrition
Nutritional information is automatically calculated with ingredients and serving size and may not be accurate. Please always double check with your own nutritional apps as well.