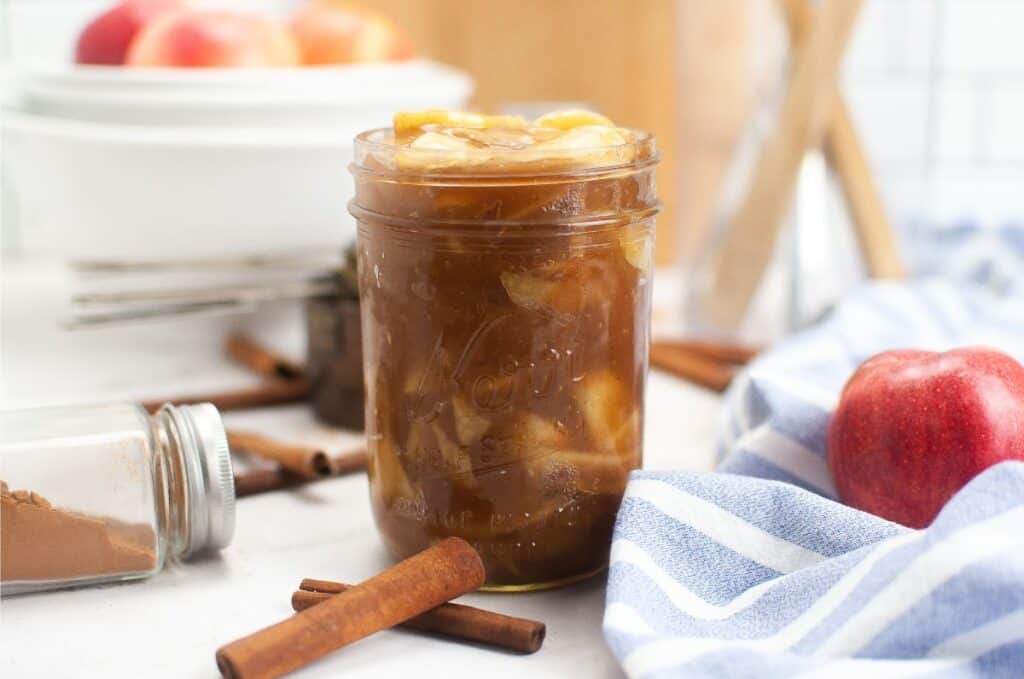
Learn how to make your own Apple Pie Filling at home and skip the canned pie filling at the store.
This apple filling uses thinly sliced apples, brown sugar, granulated sugar, apple pie spice, and more.
Tender and flavorful apples are perfect for using in a pie recipe, apple cake, and more.
I will also share how to can your pie filling to keep in your pantry so you have it for when you get a sweet craving.
This is a great recipe to use after you hit up an apple orchard and you have extra apples on hand.
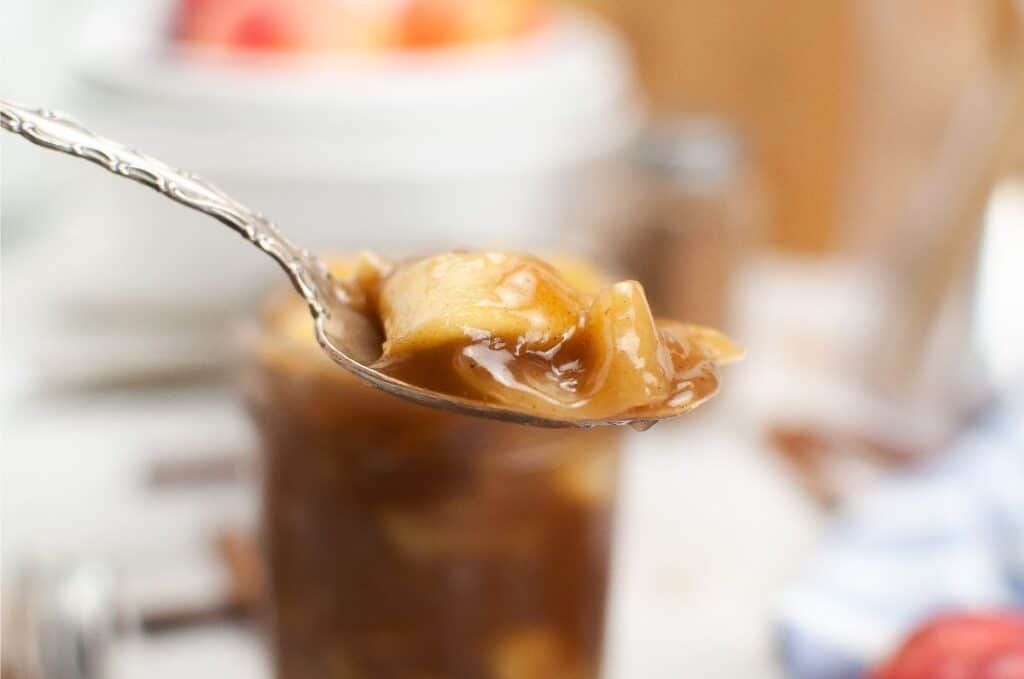
Serve on top of yogurt, ice cream, or bake with the apple filling.
If you are new to canning I have a post all about canning.
Or learn how to make your own strawberry jam or learn to can cucumbers as well.
Reasons You Will Love This Apple Pie-Filling Recipe
- No preservatives are needed for making this recipe. You get to control the ingredients.
- Made with fresh apples so you get the best flavor for this pie filling.
- You can control the sweetness of the apple filling by adding less sugar if you need.
- This apple pie filling is full of warm spices for incredible flavor.
- Easy to make!
- Make a large batch and keep the rest in your pantry for when you plan to bake through the year.
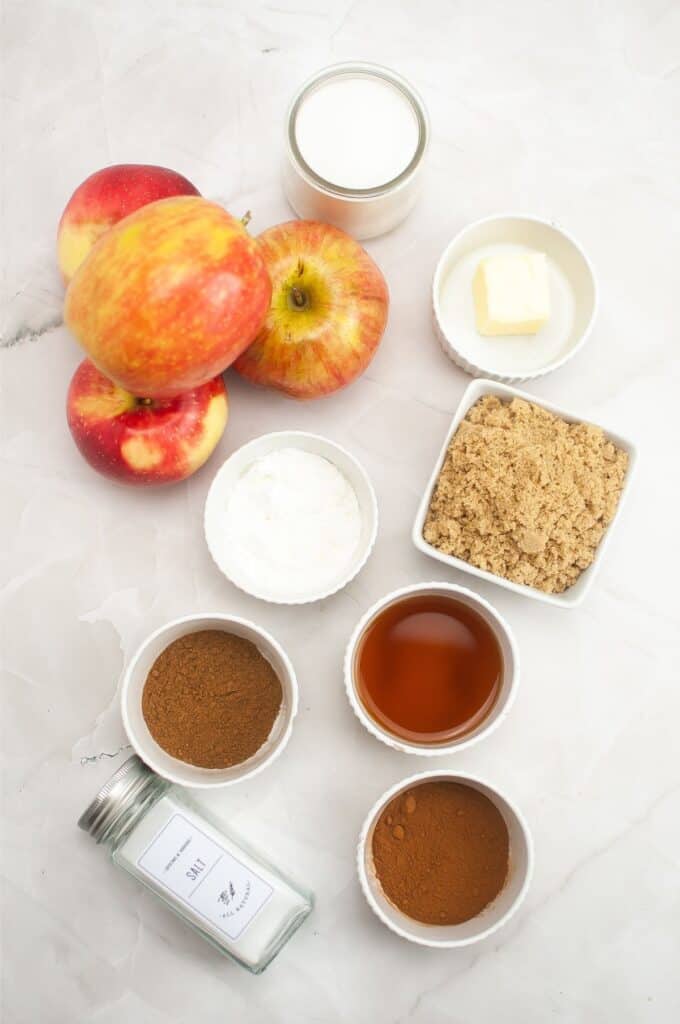
Ingredients
Butter – Reach for unsalted butter for this recipe. If you use salted butter, then leave out the salt in the recipe.
Apples – You can use any type of apples you would like. Or do a Granny Smith for tart and some Honeycrisp apples for sweetness. Feel free to do a variety for added flavor.
Sugar – Brown sugar and granulated sugar are both used to help add depth to the filling.
Spices – Cinnamon and apple pie spice are both used for adding warm flavors to the apples. You could also use pumpkin pie spice if you prefer.
Salt – A little salt will enhance all the flavors of each ingredient.
Cornstarch Slurry – Cornstarch and water work together to create a thickening agent for this filling.
Apple Cider Vinegar – This vinegar is going to help allow the mixture to preserve the apples.
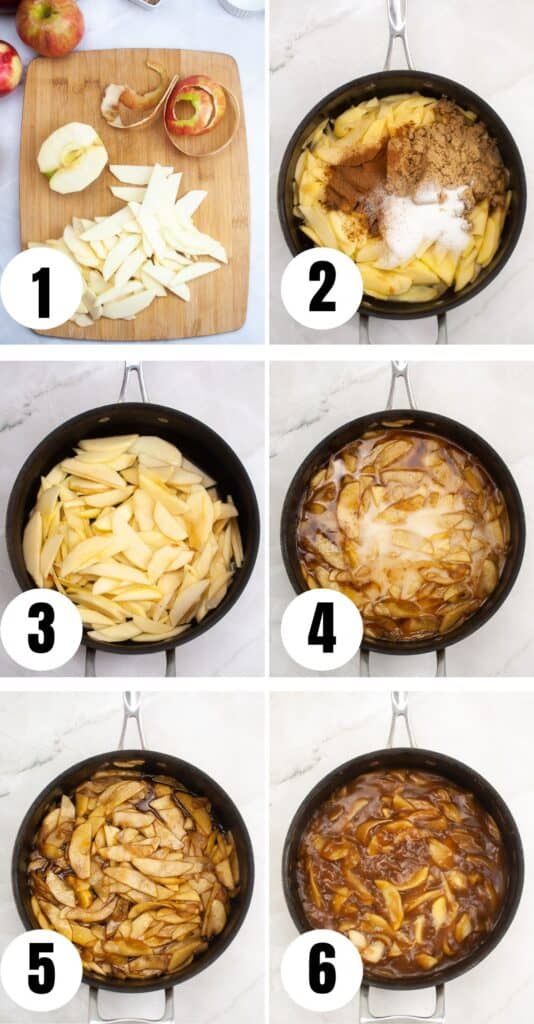
How To Make
Full steps on how to make apple pie filling is featured in the printable recipe card at the bottom of the post.
This is a quick walk-through on how it is made.
Step 1: Peel and prep apples, and then place in a saucepan on the stovetop.
Step 2: Add in butter and turn on medium heat and cook until the apples are tender.
Step 3: Add in the sugars and spices. Mix until the sugar melts.
Step 4: Whip up the cornstarch slurry and vinegar and stir in. You want to allow the apple mixture to thicken.
Step 5: Once thickened, remove from heat and allow it to cool.
Step 6: Then you will go on to can the filling following the canning steps in the recipe card.
Any baking apple will work great for making the apple pie filling. You can use sweet or tart apples or a blend of apples to create more flavor. I prefer to do sweet and tart apples so it creates more flavor.
The cornstarch and water are going to thicken up the filling. You need to allow it to cook for a few minutes and once the cornstarch heats up it will begin to thicken.
Use this filling for an apple crisp, dump cake, muffins, pancakes, ice cream topper, etc. Feel free to use the pie filling in any way you would like.
Helpful Tips for Canning
Sterilize Jars
Make sure that you wash your jars with hot soapy water. Then bring the jars and water in a pan to a boil. Cook for 15 minutes to fully sterilize the jars.
Then remove from the hot water, and let them dry completely. Once dry, you can add in the pie filling.
Headspace
You want to leave around 1/4 inch of headspace once you add the filling in the jars. Make sure to allow room as the pie filling will expand a bit when it seals.
Water Bath
When you go to boil your jars in the water once full of filling, make sure the jars are fully covered in the water. This will help ensure the jars seal properly.
Ensure the Jar Seals
Make sure the jars seal completely. You will press the center of the lid and you don’t want to hear it pop or see it flex. If it pops that means the jar is not sealed, and the apple filling needs to be refrigerated and used first.
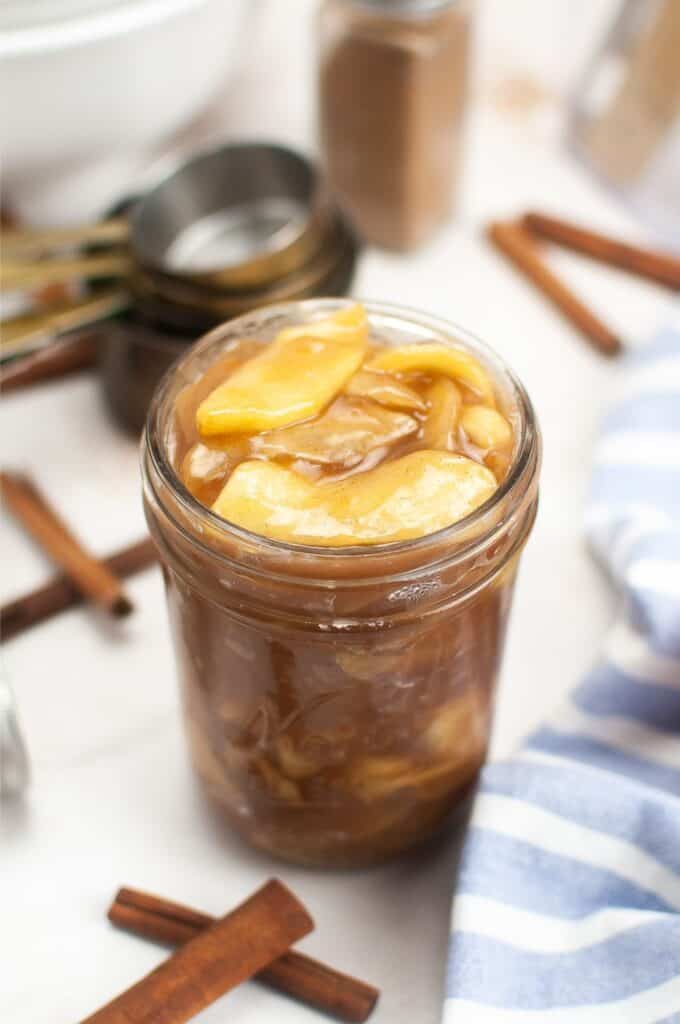
Storing
If you do not can the pie filling you will want to refrigerate the pie filling and use it within a week of being made.
Now if you can the pie filling, you can store it in a cool dry place in your pantry. Then store for up to a year.
More Apple Recipes
If you liked this apple recipe, you’ll love these ones too:
- Caramel Apple Taquitos – This simple recipe for is a fun new twist on traditional apple pie that anyone can make.
- Crockpot Apple Butter – Crock Pot Apple Butter is an amazing treat that is sure to please everyone. It’s delicious, healthy, and easy to make.
- Apple Pie Cookies – This Apple Pie Cookie recipe is the most recent apple recipe to join my apple recipe collection and I am sure it will be a hot with your family this year too!
- Air Fryer Apple Hand Pies – 3 ingredients and 15 minutes are all it takes to make these decadent warm spiced Air Fryer apple pies.
- Apple Cider Donuts – Donuts are delicious fall treats that are perfect for breakfast or dessert. They’re also great for parties and celebrations during the fall season and these donuts are no exception.
- Caramel Apple Donuts – The beauty of these delicious treats is the fact that they are baked and not fried.
- Old Fashioned Apple Cake – This is one of the simplest apple cake recipes I’ve ever made. It has quickly become one of my absolute faves for the fall baking season.
- Dutch Apple Pie – I have yet to meet anyone that would turn down a slice of warm apple pie with a scoop of vanilla ice cream.
- Caramel Apple Crisp – By far our most favorite fall dessert recipe!
- Salted Caramel Apple Cider Balls – I’m a huge fan of cider and I literally can’t get enough of these caramel treats. These are a must in our household during the fall and winter months of the year.


Apple Pie Filling
Ingredients
- 2 tablespoons butter
- 5 large apples peeled, cored, and thinly sliced
- 10-15 medium or small apples.
- ¾ cup brown sugar packed
- ¼ cup granulated sugar
- 1 teaspoon ground cinnamon
- 1 teaspoon apple pie spice or pumpkin pie spice
- ⅛ teaspoon salt
- 6 tablespoons cornstarch
- 2 ½ cups water
- 2 teaspoons apple cider vinegar
Instructions
- After apples have been peeled, cored, and sliced thin, add the butter then apple slices to a large sauce skillet and sauté the apples until they are tender.
- Add the sugars and spices and continue to sauté until the sugars have dissolved and simmering.
- Add the cornstarch to water and vinegar and whisk until cornstarch has dissolved.
- Add the wet mixture to the apples and gently stir to mix. Bring to a simmer and allow the filling to thicken.
- Once you have reached the desired thickness, remove from the heat and let cool before canning or storing. If you are using it immediately, let cool slightly before using it.
Video
Notes
Nutrition
Nutritional information is automatically calculated with ingredients and serving size and may not be accurate. Please always double check with your own nutritional apps as well.