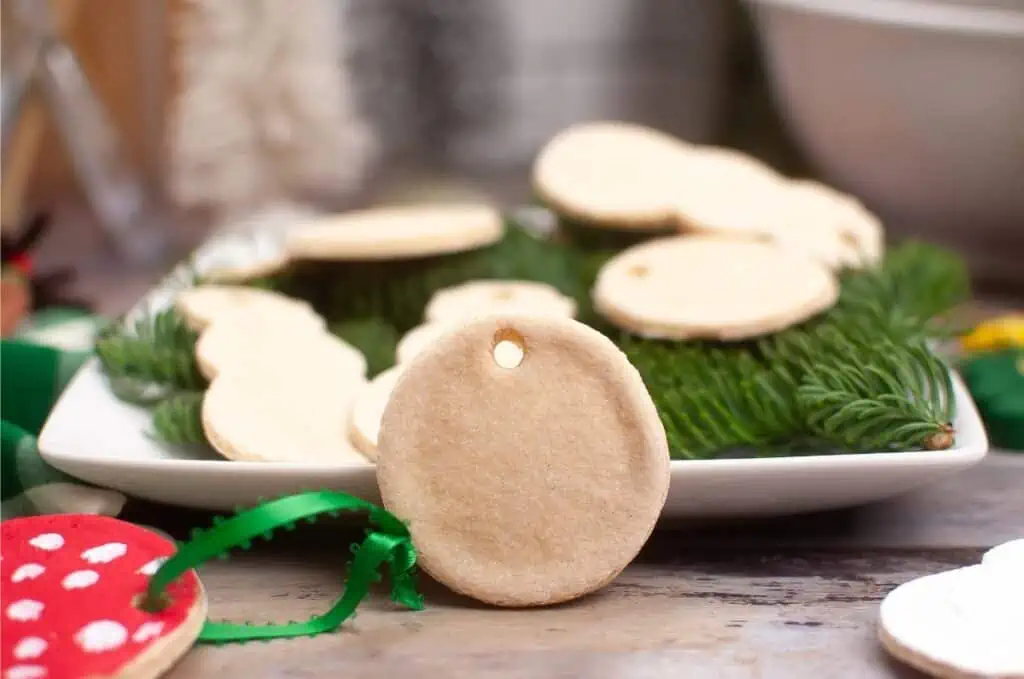
Salt Dough Ornaments are a classic Christmas craft and so easy to make too!
With the holiday season just around the corner, why not get into the festive spirit and add a personal touch to your decorations?
These decorations are perfect for making one-of-a-kind creations or trying out new ideas; they also make lovely gifts and mementos.
It’s the perfect time to let your creativity shine!
Creating salt dough ornaments is such a fun and wallet-friendly idea!
This awesome craft is super easy and flexible, so you can create your own unique decorations for your tree, to give as gifts, or even for decorating your home.
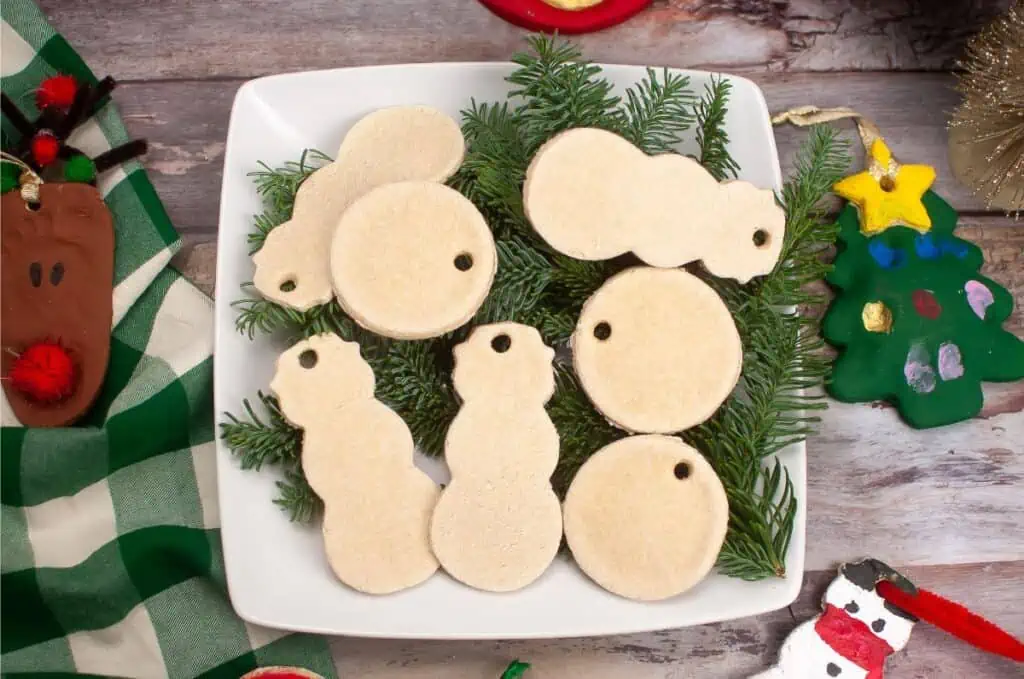
Get ready for a super fun and festive crafting experience as we guide you through the step-by-step process of making salt dough ornaments.
We’ve got some awesome tips and ideas to make this activity a total blast!
Get the whole family together, crank up the holiday music, and take pleasure in the soothing and pleasant process of creating salt dough ornaments that will bring a lifetime of memories into your home.
Materials Needed
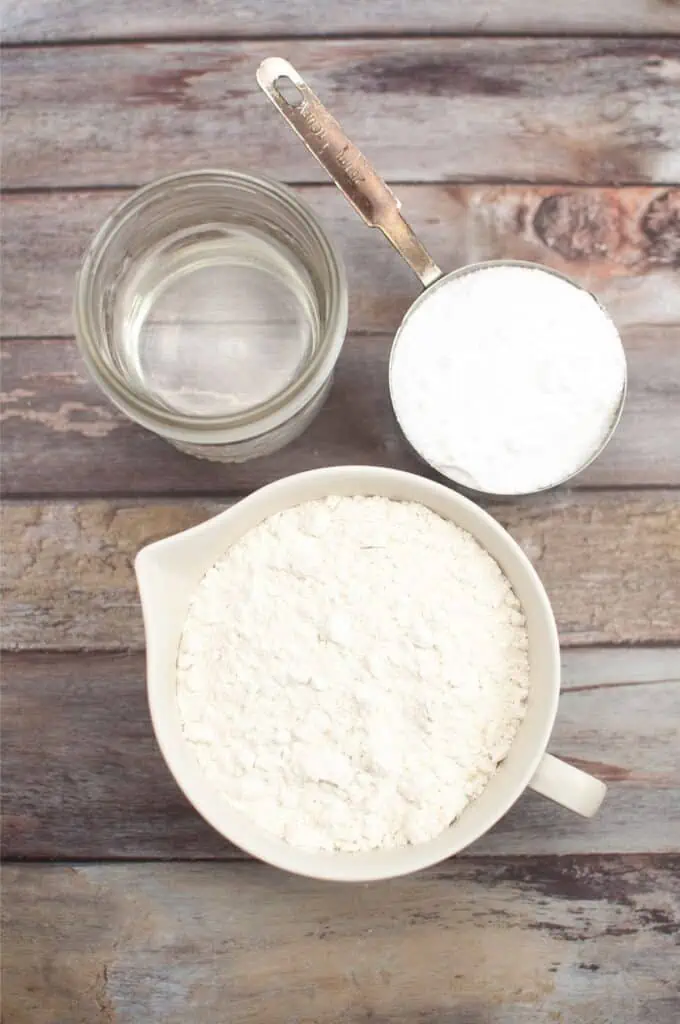
Before diving into the crafting process, gather the following materials:
- Flour
- Salt
- Water
- Rolling pin
- Cookie cutters
- Pipe cleaners
- Acrylic paints
- Paintbrushes
- Ribbon or twine for hanging
How to Make Salt Dough Ornaments
Full steps on how to make this salt dough recipe are in the printable recipe card.
This is a quick walk-through.
Step 1: Mixing the Dough
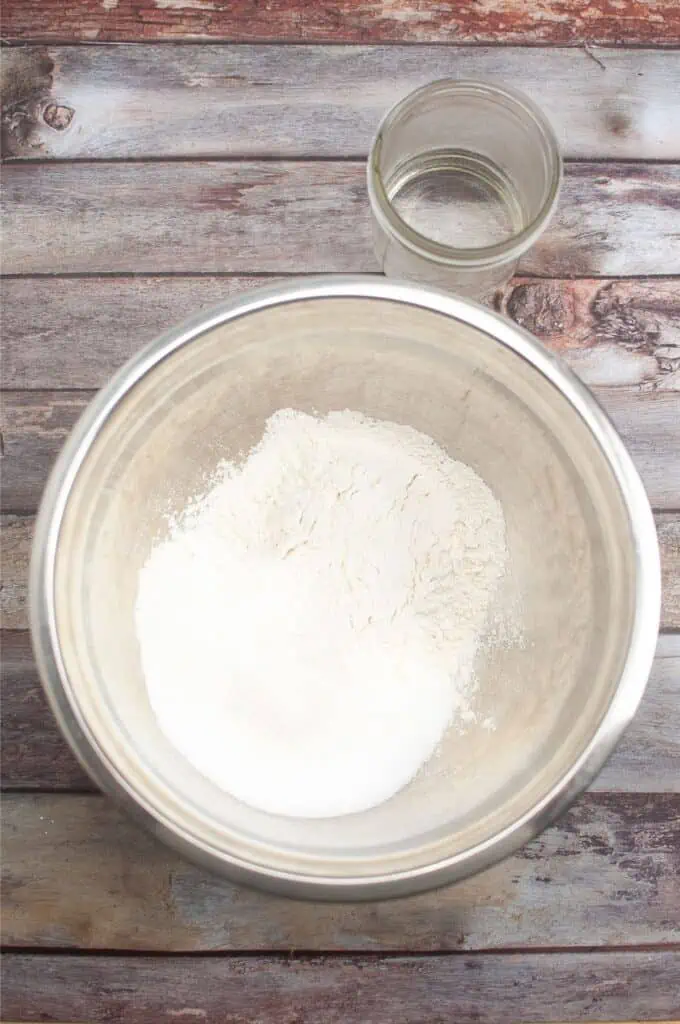
Start by preheating your oven to 250°F (120°C). In a mixing bowl, combine the flour and salt.
Gradually add water to the mixture, stirring continuously.
Knead the dough on a floured surface until it reaches a smooth consistency.
Expert Tip: If the dough is too sticky, add a bit more flour.
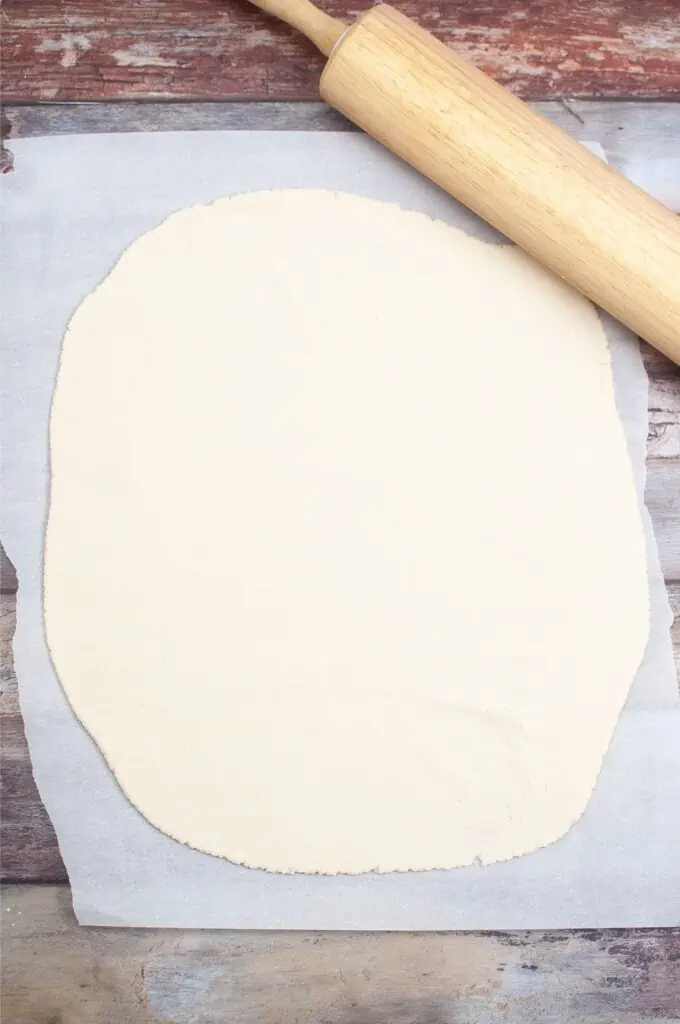
Step 2: Rolling and Cutting
Once your dough is ready, use a rolling pin to flatten it to about 1/4 inch thickness.
This is where the fun begins!
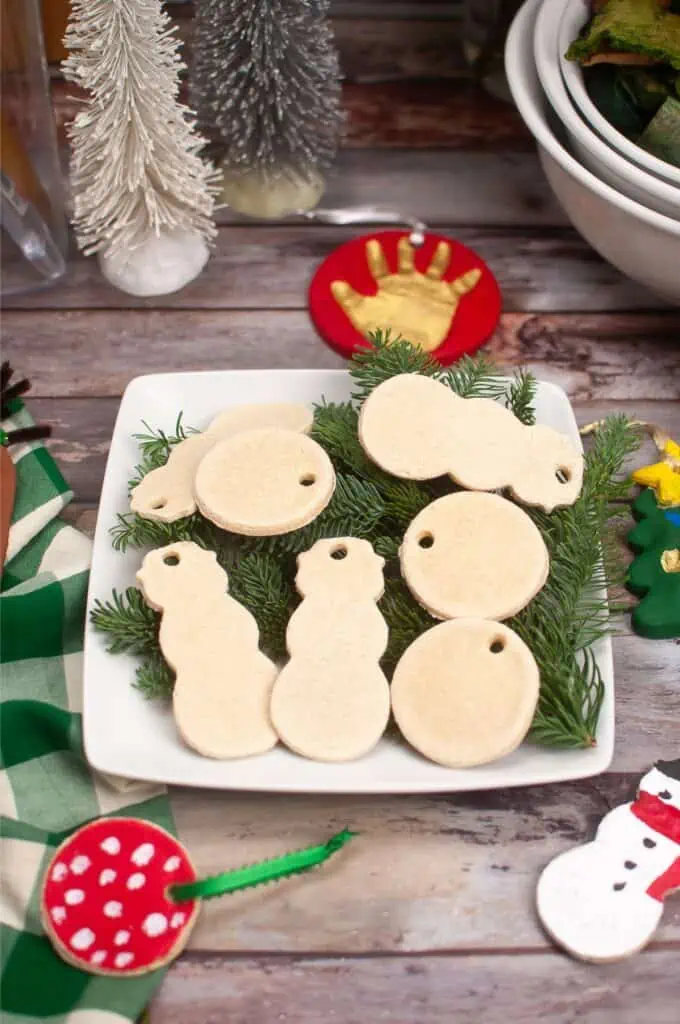
Choose your favorite cookie cutters to create various shapes.
Stars, Christmas trees, and snowflakes are classic choices, but feel free to get creative with personalized shapes that hold special meaning for you and your loved ones.
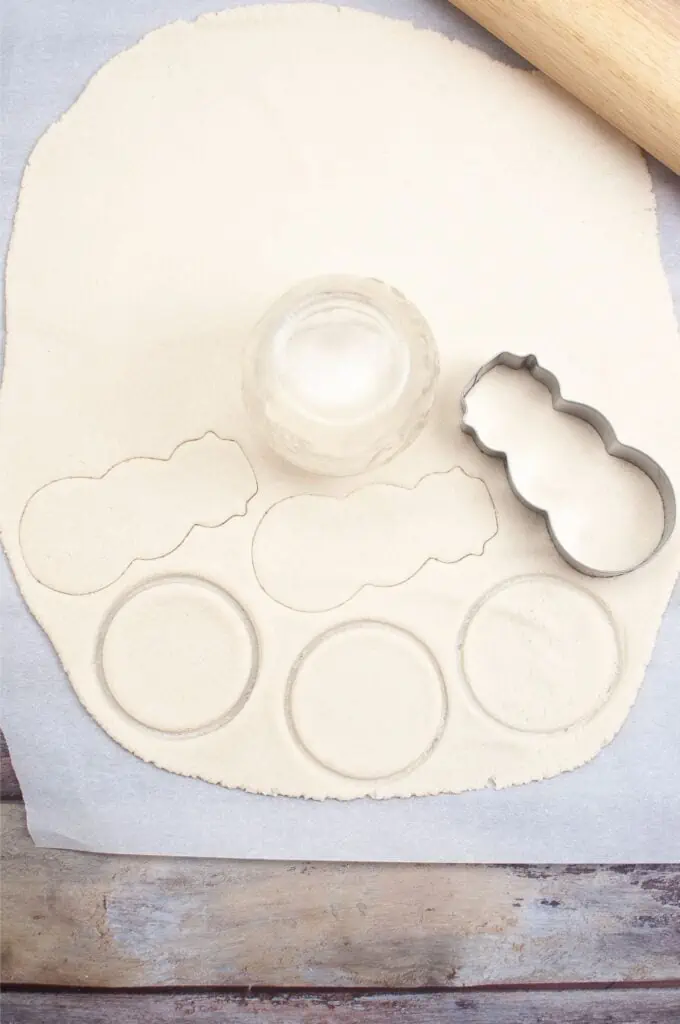
Step 3: Making Impressions
Before baking, you can make impressions on your ornaments using various household items.
Press lace, textured fabric, or even your child’s handprint onto the dough for unique and personalized designs.
Ensure that the impressions are deep enough to remain visible after baking.
Use a straw to punch a hole in the top of the ornament.
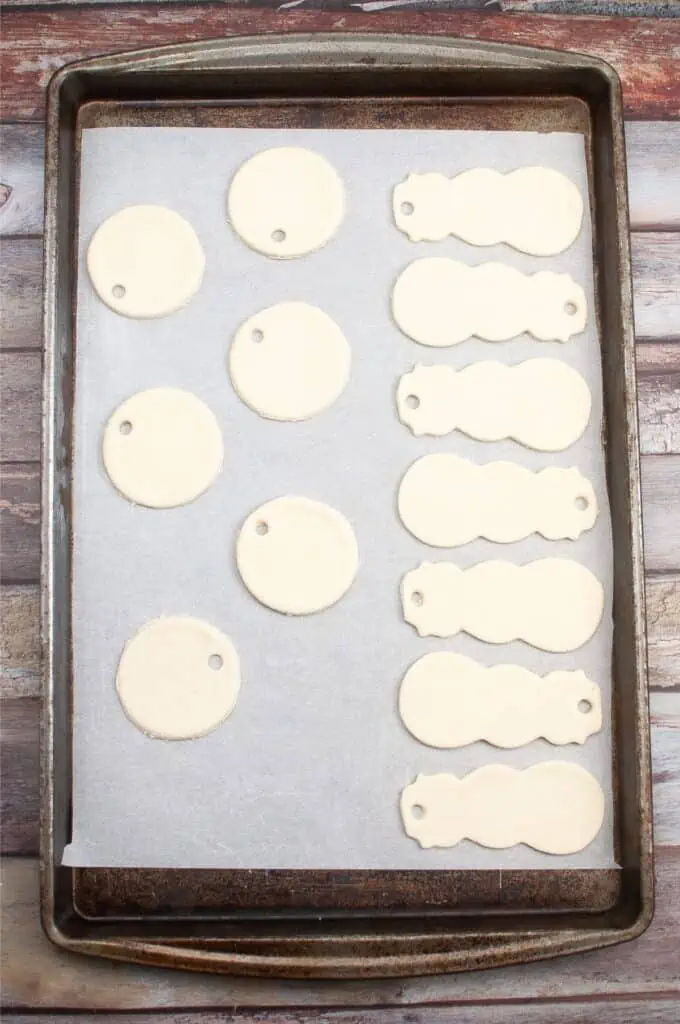
Step 4: Baking
Place your salt dough ornaments on a parchment-lined baking sheet and bake them in the preheated oven for approximately 2 hours.
Keep an eye on them to prevent browning.
The slow and low baking process ensures that the ornaments dry thoroughly without cracking.

Step 5: Painting
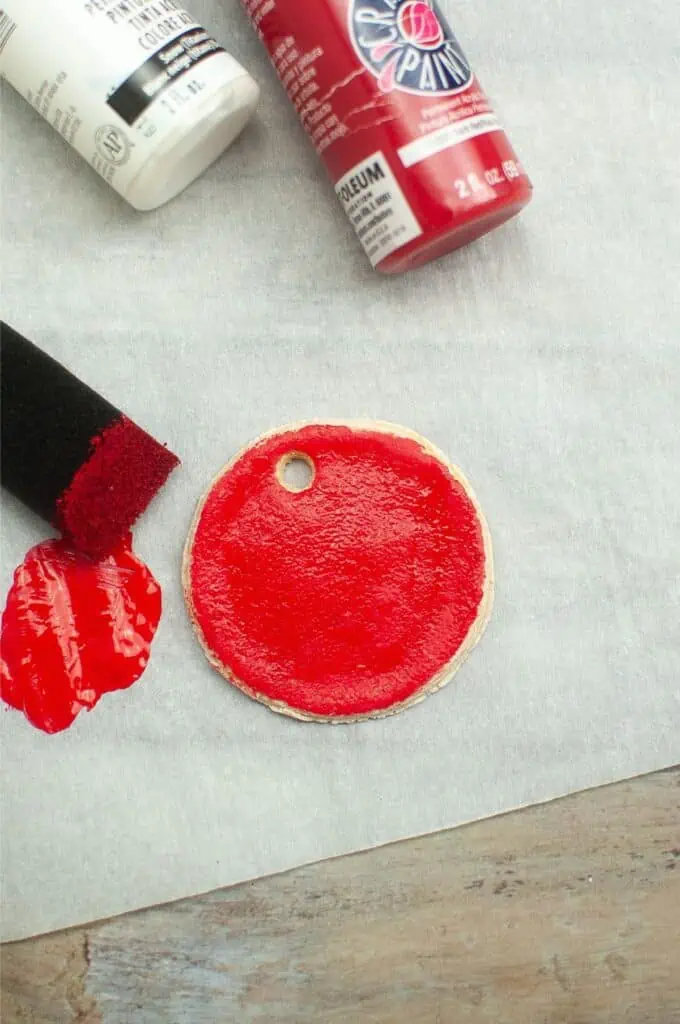
Once your ornaments have cooled completely, it’s time to unleash your creativity with paints.
Acrylic paints work well for this step.
Paint each ornament with vibrant colors and intricate details.
You can opt for a traditional holiday color scheme or experiment with bold and unconventional choices.
Let the painted ornaments dry completely before moving on to the next step.
Step 6: Sealing the Ornaments
To protect your beautifully painted designs and add a glossy finish, apply a thin layer of Mod Podge or clear varnish to each ornament.
This step not only enhances the aesthetics but also ensures the longevity of your creations.
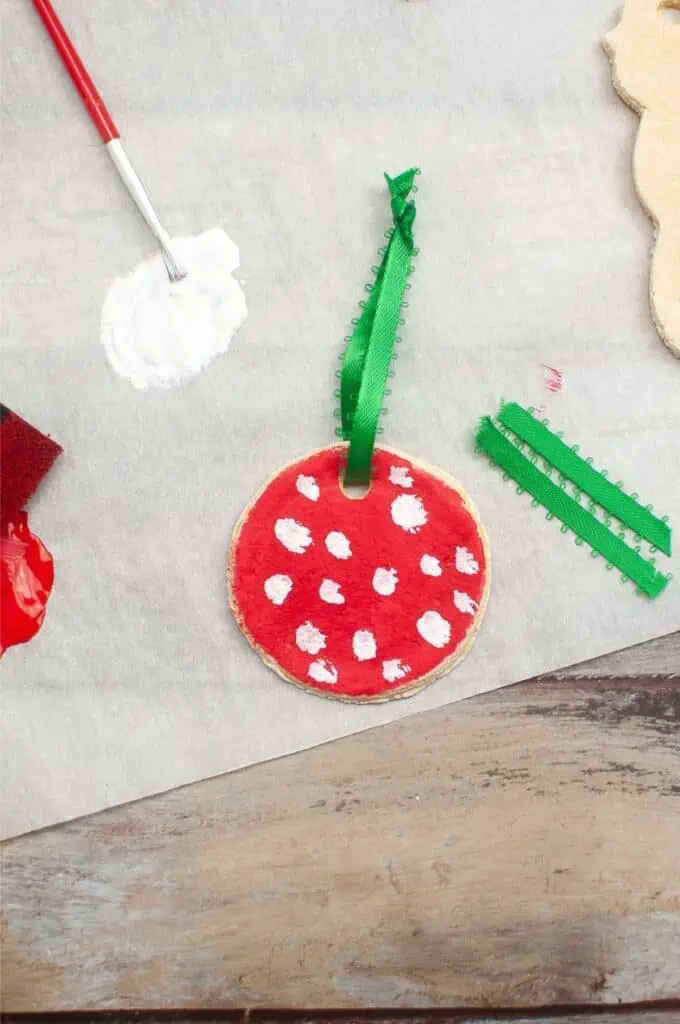
Step 7: Adding Ribbons
The final touch to your salt dough ornaments is the addition of hanging ribbons or twine.
Cut the ribbon into the desired length and create a loop, securing it to the top of each ornament.
This step not only serves a practical purpose but also adds a charming and festive element to your creations.
Ideas for Personalization
Family Handprint Ornaments: Capture the essence of togetherness by making handprint ornaments. Press each family member’s hand onto the dough and paint the prints with individual colors.
Pet Paw Prints: Include your furry friends in the festivities by making paw print ornaments. Press your pet’s paw gently into the dough and paint the impressions with pet-safe paints.
Photo Embedding: Cut out shapes from the dough, leaving a space in the center. After baking, insert small photos into the openings and seal them with clear varnish.
Custom Messages: Use alphabet cookie cutters to create ornaments that spell out festive messages or the names of your loved ones.
More Christmas Crafts
If you liked this Christmas craft activity, you’ll love these too:
- Magic Reindeer Food – This “Magic” Reindeer Food is such a fun activity to do with kids during the holiday season and would make a great edition to the 25 Days of Christmas Bucket List if you ask me.
- Cookies for Santa Gift – I just love giving homemade gifts during the holidays, and this Mason Jar Cookies for Santa gift is adorable.
- Homemade Peppermint Lip Balm –
- Cinnamon Scented Pine Cones – If you love cinnamon scented items such as pine cones or anything related to Christmas, then why don’t you try making them at home? They are perfect gifts, especially during winter season.
- Nativity Wreath – This Christmas Wreath Craft is really easy to make and looks amazing when it is finished.
- Snowman Parts & Gingerbread Hearts – I absolutely LOVE this adorable Snowman Parts and Gingerbread Hearts treat bag activity for kids!
- Best Homemade Food Gifts – Homemade Food Gifts make some of the best holiday gifts to give on a budget!
- Nativity Finger Puppets – What better way to celebrate the spirit of Christmas than with a delightful and engaging craft project for the little ones?
- Nutcracker Playset – This printable Nutcracker Ballet Stage Kit allows your child to play out The Nutcracker Ballet Story, complete with different stage sets and all of the main Nutcracker characters.
- Candy Cane Reindeer – These Reindeer Candy Cane Pops are a cute and easy-to-make sweet treat that you can give as a gift or eat with your family and friends.
- Printable Nativity Scene – This is an activity that I did with my own kids every year during the holiday season.
- Christmas S’mores – This gift is perfect to give to anyone! And because they are so easy to make, these make great gifts for kids to make themselves and give away.
- Hot Chocolate Spoons – They make delicious homemade food gifts on their own, or add them to a packet of your favorite hot chocolate mix for an extra delicious gift idea this year.
- Christmas Candle – A simple and frugal homemade holiday gift idea that is sure to be a show stopper.
Salt Dough Ornaments
Materials
- 1 1/2 cups all-purpose flour divided
- 1 cup salt
- ½ cup warm water
For Decorating:
- Pipe cleaners ribbon, and or twine for hanging on the tree
- Acrylic paint
Instructions
- Pre-heat oven to 250 degrees.
- In a mixing bowl, add the salt and 1 cup of the flour to combine.
- Add the water and begin to mix with your hands until a shaggy dough forms.
- Knead with your hands until it becomes smooth. Gradually add extra flour to help smooth the dough consistency.
- Use a rolling pin and roll it out flat to 1/4’’ thickness.
- Grab your Christmas themed cookie cutter and punch out the ornaments. Re-knead the unused cut away bits and roll it out again. Repeat until all the dough is used.
- Use a straw to punch a hole in the top of the ornament.
- Bake in the oven for 2 hours then let them cool.
- Once cooled, paint the ornaments as desired. Use the pipe cleaner, ribbon and or twine through the hole and hang on the tree.


Leave a Reply